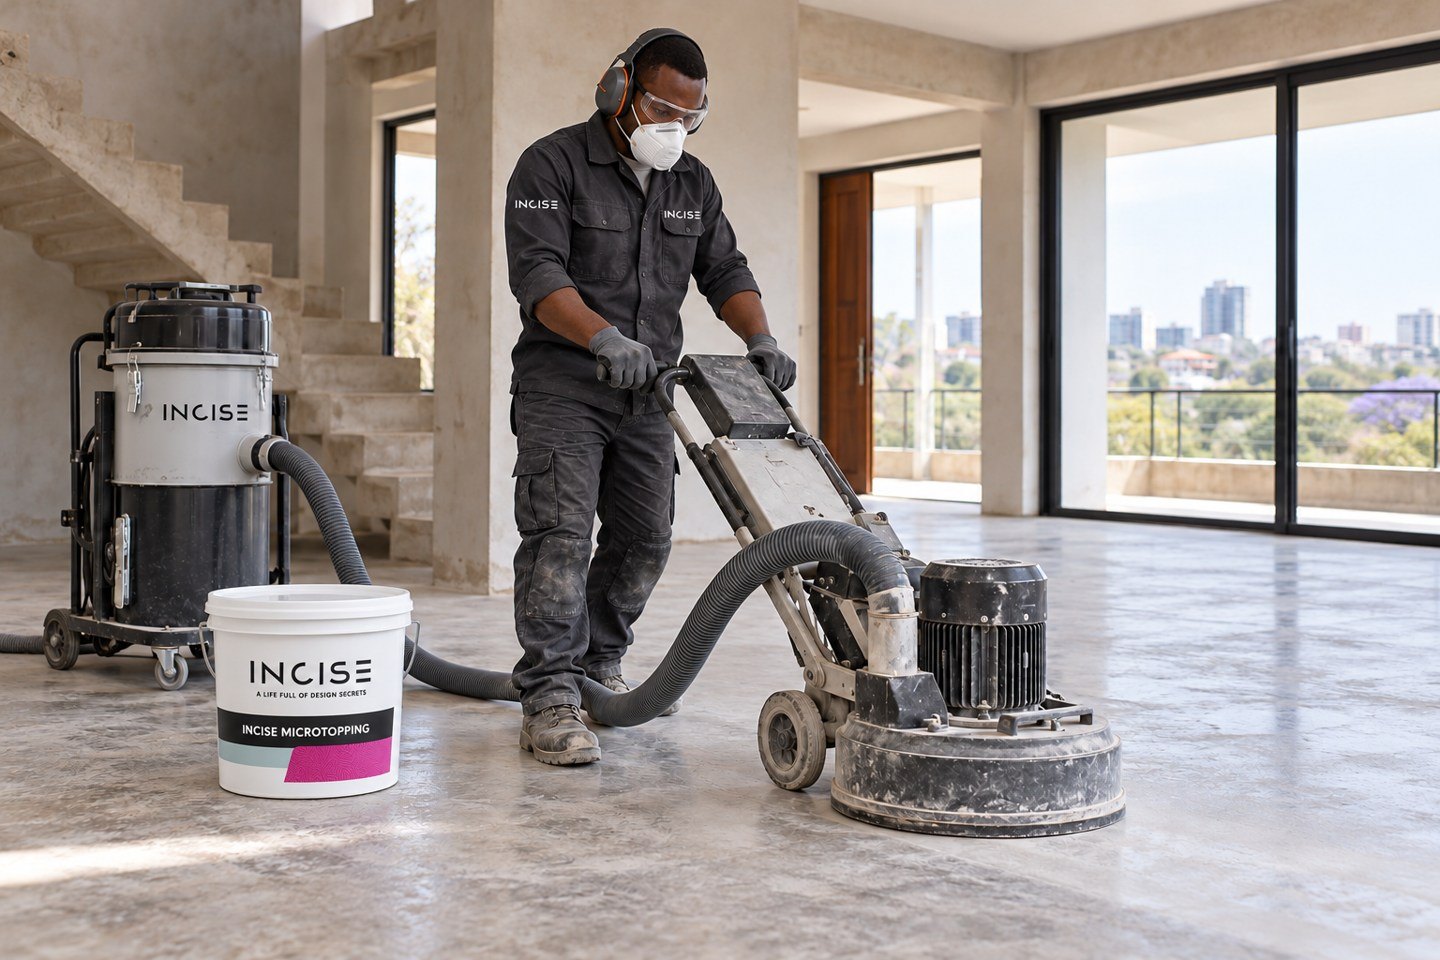
Moisture-testing equipment, grinder with dust extraction, industrial vacuum and crack-repair tools.
INCISE Academy / Application guide
INCISE
Topcrete.
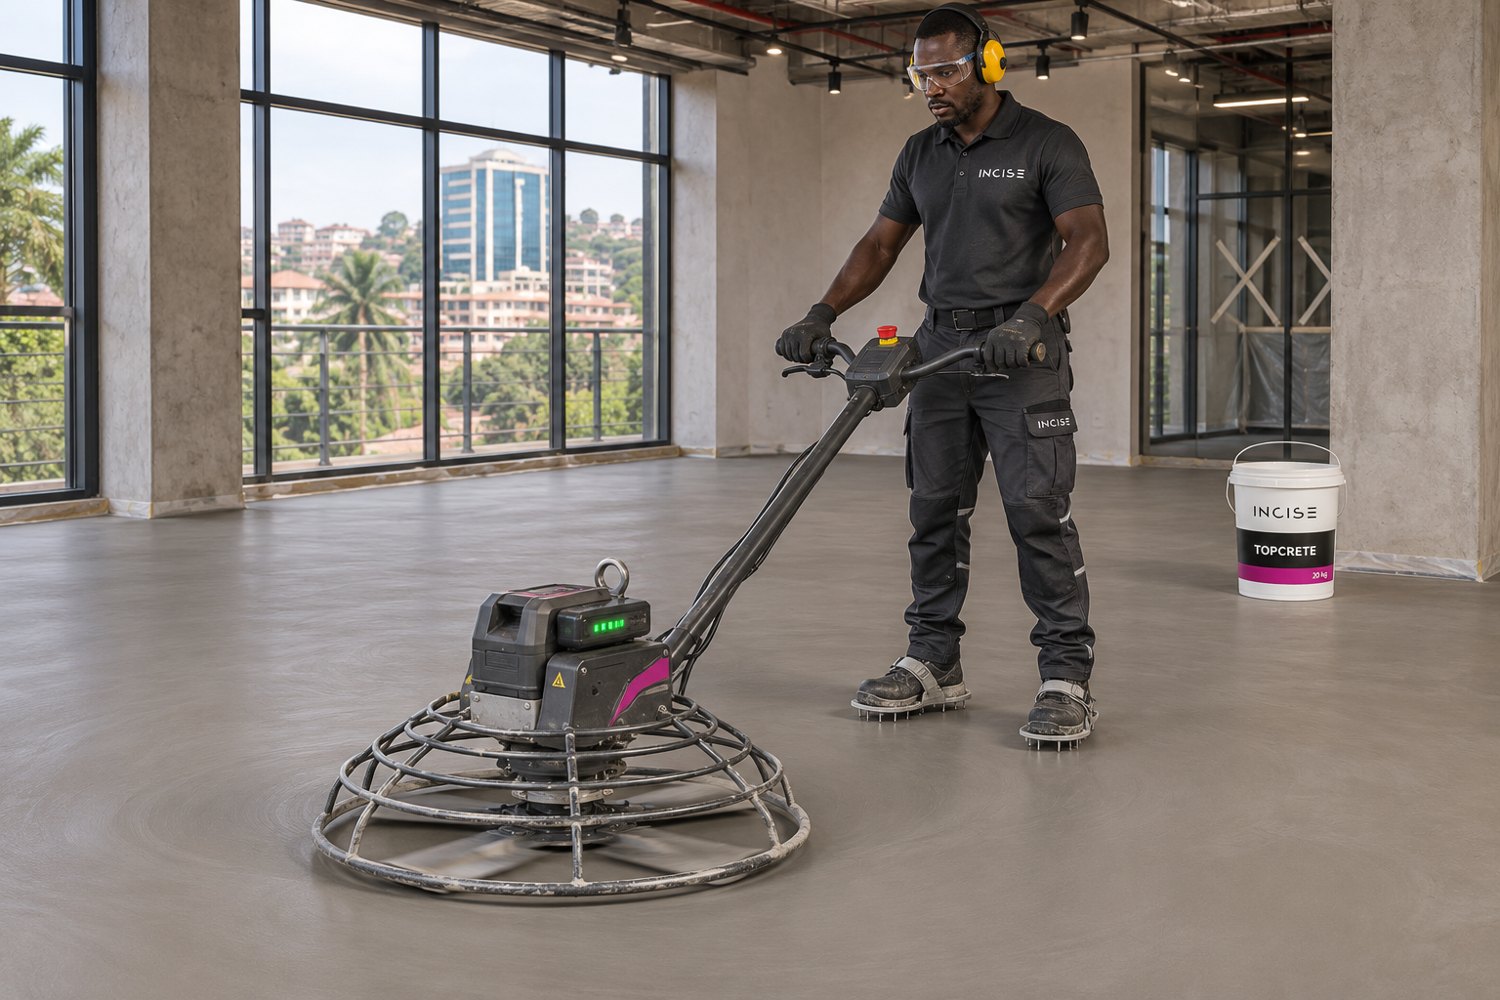
A robust mineral microcement finish for existing floors. Built in two coats and power-floated smooth, Topcrete brings the natural movement of concrete to industrial, commercial and residential spaces.
1 : 1.4
Polymer : dry mix / by volume
20 kg
Topcrete dry mix per bucket
15–20 m²
First-coat yield per bucket
2 coats
Then power float, densify & seal
Start with the whole system
The finish starts
below the surface.
Read this guide with the current Topcrete, primer, INCISE Strong and selected sealer instructions. Approve a sample panel, confirm the complete system and record site conditions before work begins.
A strong-looking finish cannot correct a weak base. Inspect, prepare and repair before the first coating goes down.
From base to finish
- Prepared concrete / screed
- Epoxy primer + broadcast quartz
- Topcrete first coat
- Topcrete second coat / power-floated
- INCISE Strong / penetrating densifier
- Selected protective sealer
INCISE Strong penetrates the mineral finish; it is not a separate thick layer.
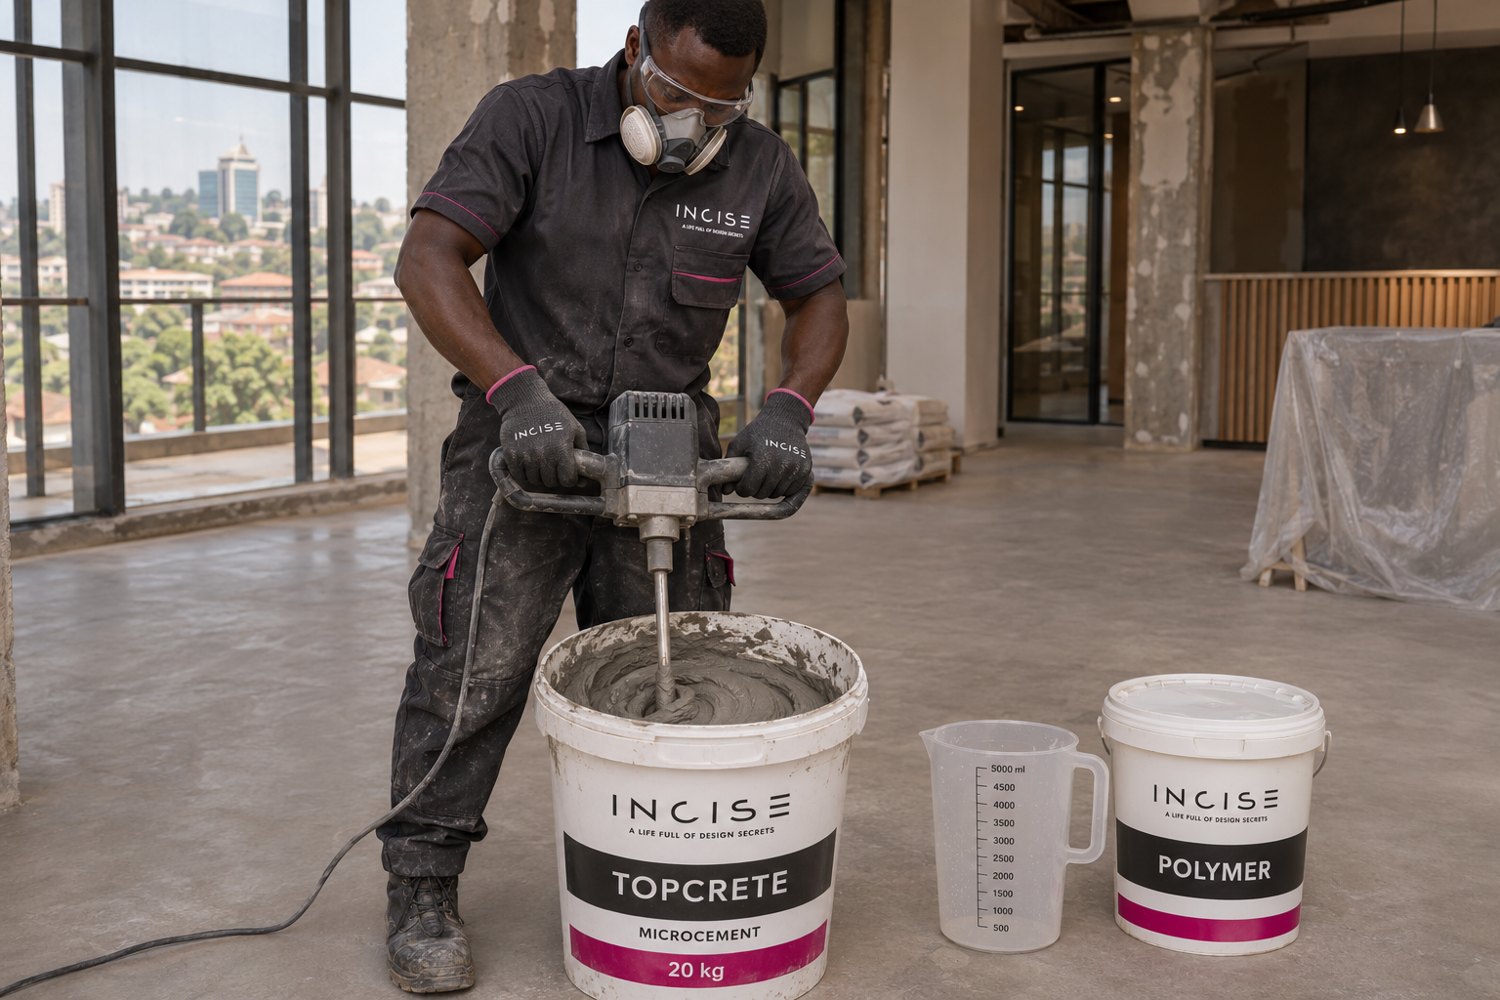
Accuracy becomes consistency
Measure by volume.
Match every batch.
1 part INCISE Polymer : 1.4 parts dry Topcrete, measured by volume.
Example: 1 L of polymer + 1.4 L of dry Topcrete. Use calibrated measures; do not substitute kilograms for litres of powder.
1 kg INCISE Colour Pigment per 20 L of polymer, equivalent to 50 g per litre. Mix pigment into the polymer before adding dry Topcrete. Approve a sample and keep the colour dose consistent.
First coat: approximately 15–20 m² per 20 kg bucket of dry Topcrete. The second coat may cover a larger area over the smoother base. Confirm its actual yield on site; do not assume a fixed two-coat coverage.
Before work begins
Prepare the team and the tools.
Calibrated volume measures, pigment scales, clean pails, low-speed mixer, stainless-steel trowels and clean spiked shoes.
Power-floating machine, controlled-mist sprayer, 120–150 grit sanding equipment, specified sealer tools and appropriate PPE.
Plan the machine-finishing window.
Work in manageable areas with trained operators. Use equipment suitable for the workspace and control dust and exhaust exposure.
The application / eight steps
Build it carefully.
Finish it confidently.
Open each step for the method and the check before moving on.
01 Prepare the existing floor
Before any coating
Check that the floor is stable, sound and well bonded. Concrete and cementitious screed must be at least 25 MPa and at least 28 days cured. Remove weak material, laitance, oil, paint and contamination by suitable mechanical preparation, then vacuum thoroughly.
Test and record moisture using the specified method. Resolve leaks and rising damp first. Repair assessed static cracks with INCISE Crack Sealer and fill defects with the specified repair system. Carry movement and construction joints through the new finish. Other existing finishes need a substrate-specific adhesion assessment.
Site check
A clean, sound base with accepted moisture readings, completed repairs and a recorded joint layout.
02 Apply epoxy primer and quartz
Follow the primer overcoat window
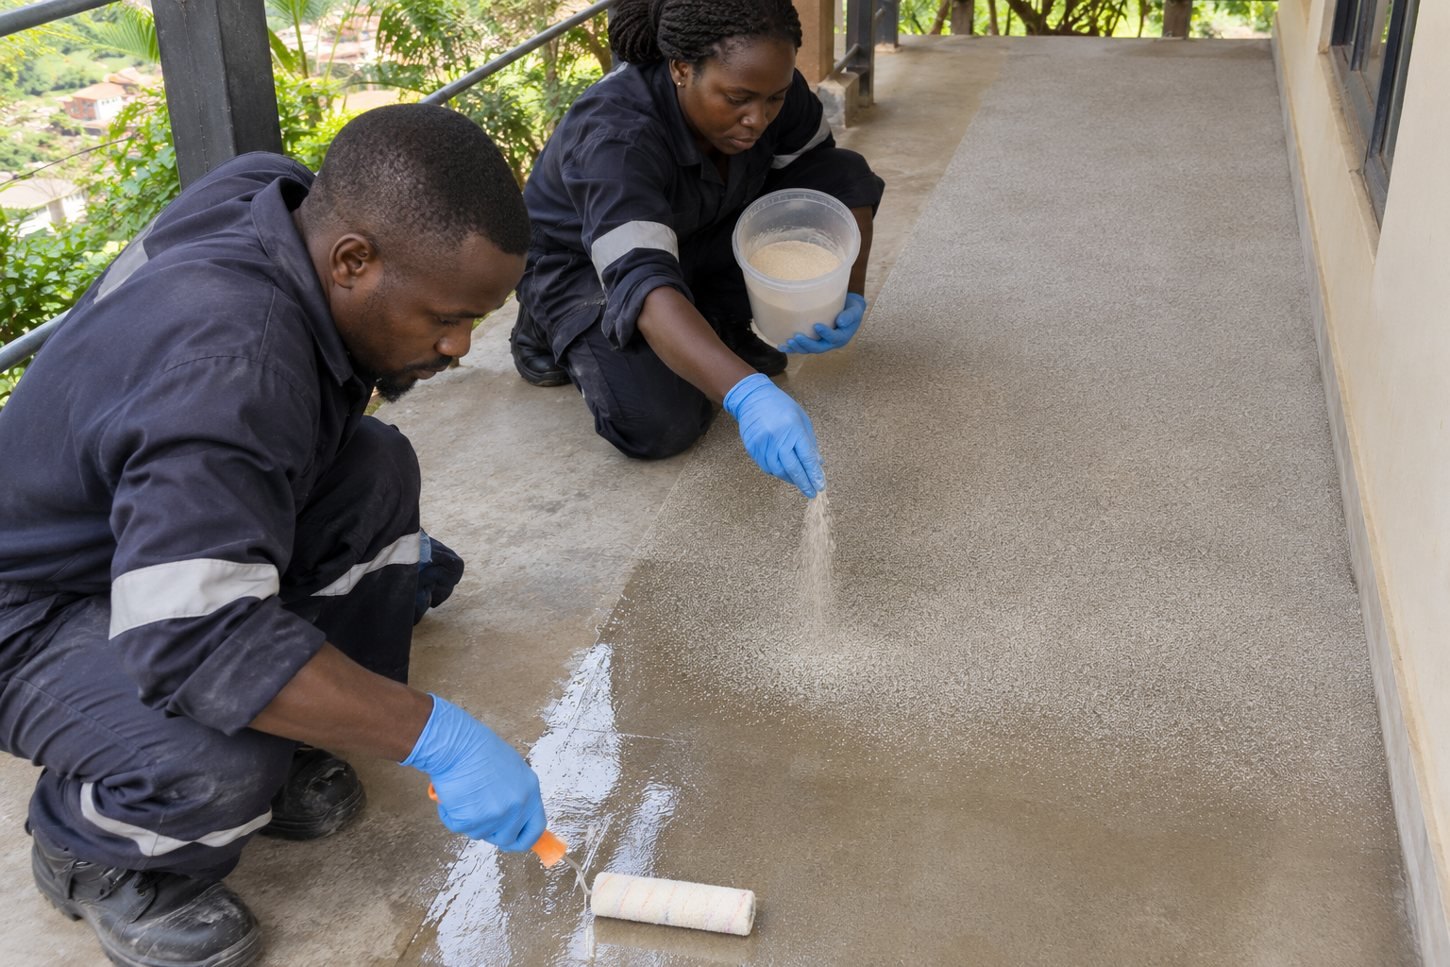
Apply INCISE Concrete Floor Primer / Epoxy Primer to the prepared substrate at its specified mixing ratio and coverage. Broadcast the specified quartz into the wet primer to form an even mechanical key.
Allow the primer to cure within its specified conditions and overcoat window. Remove loose quartz and vacuum. Inspect for bare areas, smooth patches and contamination before applying Topcrete. Do not coat uncured primer.
Site check
An even, firmly bonded key. No loose quartz, bare patches or uncured primer.
03 Mix colour and apply coat one
1 : 1.4 by volume
1 part INCISE Polymer : 1.4 parts dry Topcrete, measured by volume. Use the same calibrated measure for both components: for example, 1 L polymer with 1.4 L dry mix. A litre of dry powder is not a kilogram.
1 kg INCISE Colour Pigment per 20 L of polymer, equivalent to 50 g per litre. Mix pigment into the polymer before adding dry Topcrete. Approve a sample and keep the colour dose consistent. Add dry mix gradually to the coloured polymer and mix at low speed to a uniform consistency. Trowel an even first coat without heavy ridges or local build-up. First coat: approximately 15–20 m² per 20 kg bucket of dry Topcrete. The second coat may cover a larger area over the smoother base. Confirm its actual yield on site; do not assume a fixed two-coat coverage.
Site check
Approved colour, repeatable measured batches and a uniform first coat.
04 Apply the second coat
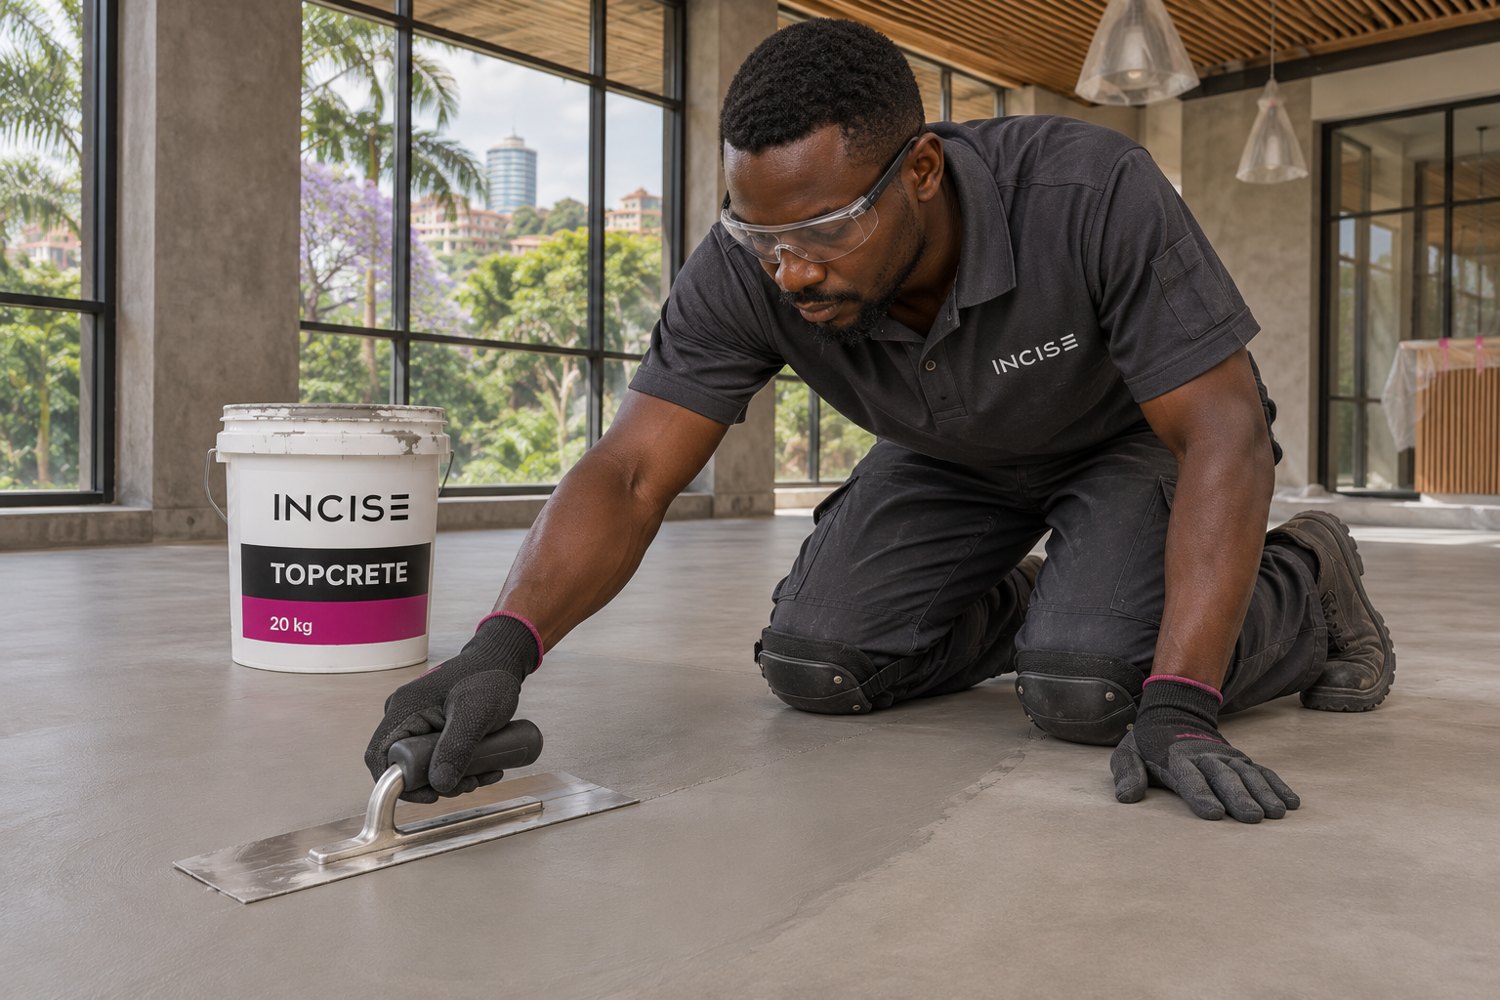
Approximately 4 hours after coat one
Once the first coat is sufficiently firm, apply the second coat using the same volume ratio and approved colour dose. Use clean spiked shoes when accessing the working area, only when the base can support them without damage.
Trowel evenly and organise the work in manageable sections for power floating. Maintain a consistent working edge. The second coat can cover more area than the first; record actual consumption rather than stretching the mix to meet a target.
Site check
No damage to the first coat. An even second coat, ready for timely machine finishing.
05 Power-float to a smooth finish
Approximately 30–60 minutes after coat two
Check surface readiness before starting. Use a suitable power-floating machine with a trained operator to refine and close the second coat to a smooth, dense-looking mineral finish. Work the perimeter carefully and maintain controlled passes.
If the surface needs light moistening, mist with INCISE Polymer containing the approved pigment dose. Use only enough to assist the machine. Do not flood the surface or pour excess water, polymer or mix onto it. Stop if the machine tears or displaces the coating.
Site check
A smooth finish with the approved natural movement; no tearing, puddles or over-wet areas.
06 Sand and remove dust
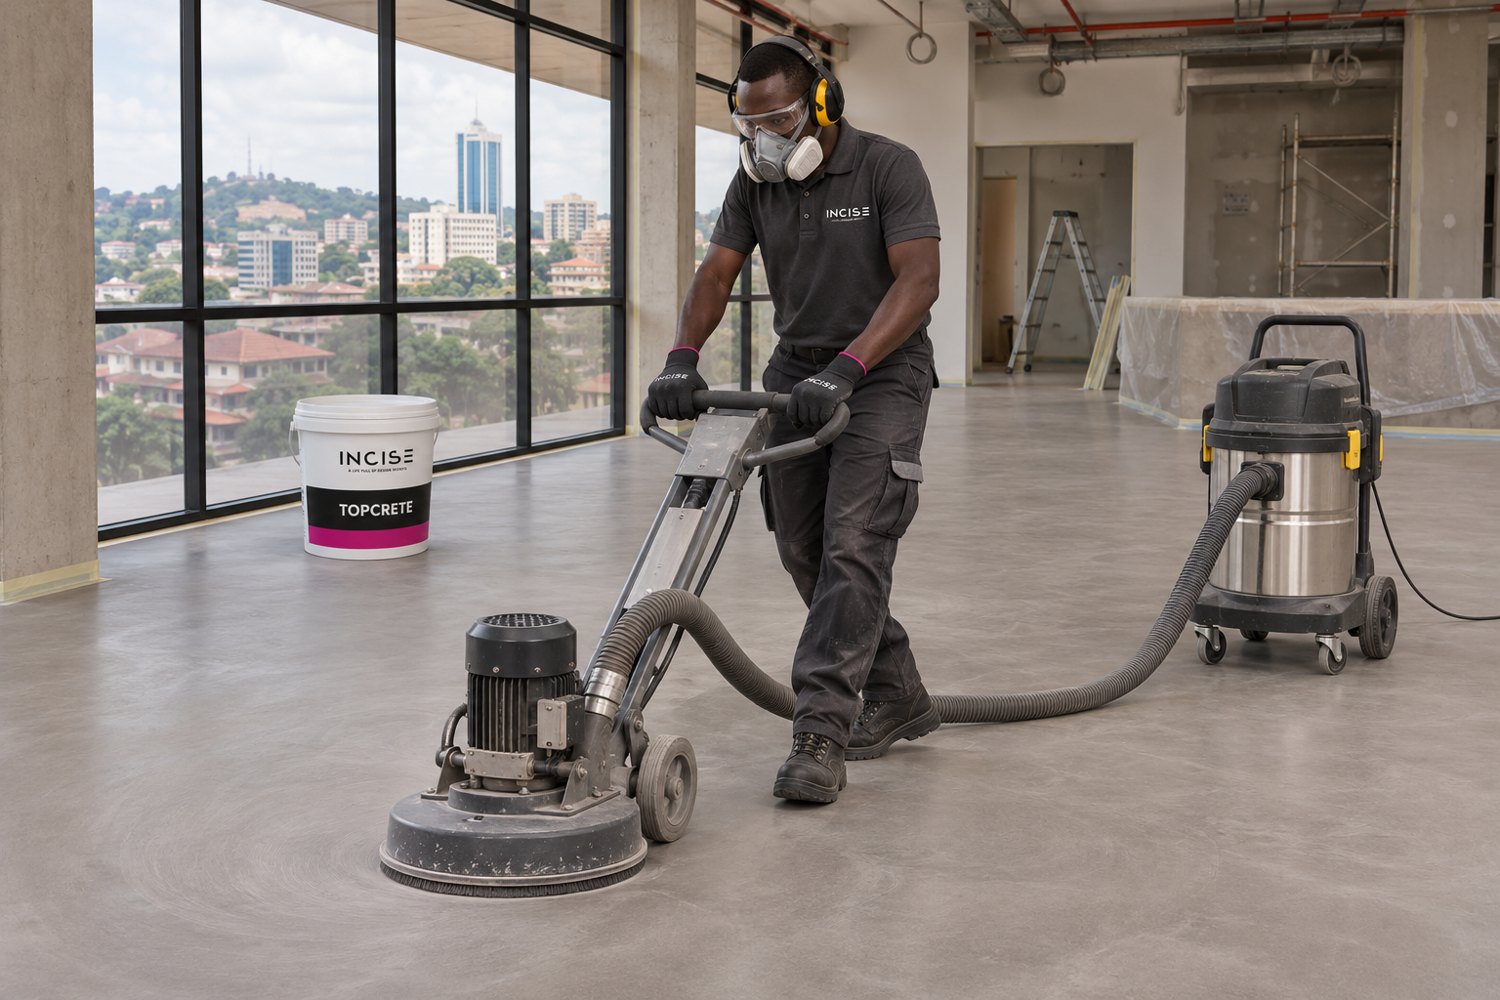
Approximately 12 hours after finishing
When the floor is sufficiently hard and dry for sanding, refine with 120–150 grit abrasives using effective dust extraction. Work evenly and protect edges from over-sanding.
Vacuum thoroughly and inspect under raking light. Correct ridges, isolated defects or sanding marks before protection. The stated interval is a working guide, not a substitute for checking the condition of the coat.
Site check
Uniform refinement, no cut-through and a clean surface ready for the specified densifier.
07 Densify with INCISE Strong
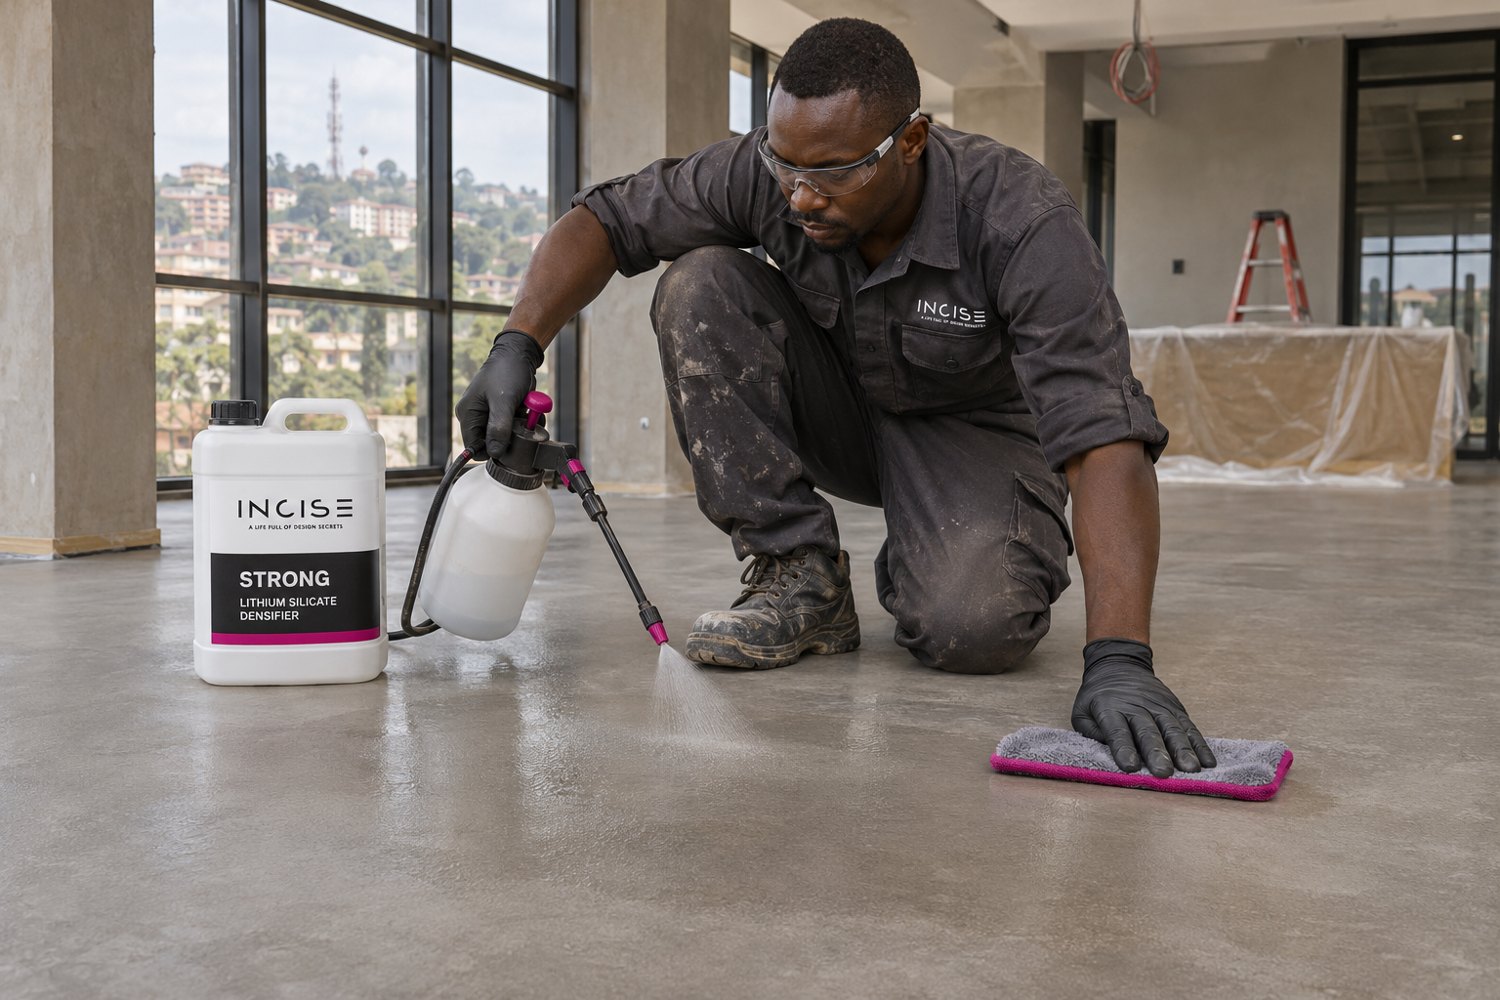
After sanding; before sealing
Apply INCISE Strong to the prepared Topcrete surface using its current application instructions and the approved system specification. Densification is retained as part of the Topcrete build-up.
Follow the specified dose, reaction period and residue-removal procedure. Allow the surface to reach the required dry condition before sealing. Confirm compatibility with the selected sealer; do not leave pooled material or surface residue.
Site check
Completed densification, no residue, and a surface accepted for the chosen sealer.
08 Seal, protect and hand over
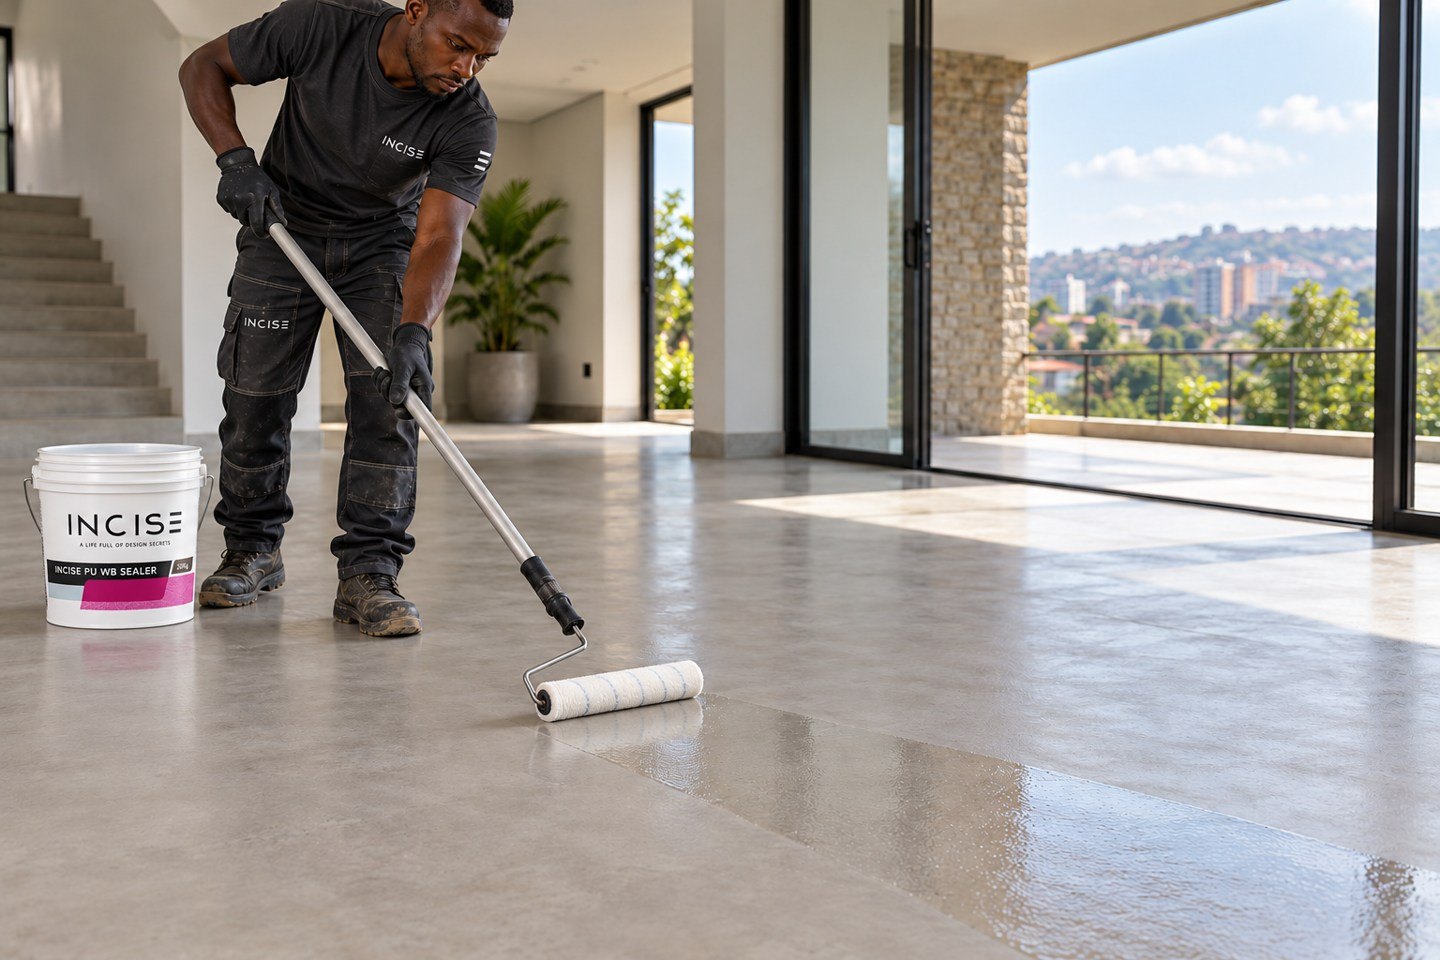
When the complete system is ready
Select INCISE UltraGuard, INCISE RapidShield or INCISE PU WB Sealer for the required traffic, exposure, sheen and cleaning regime. Apply thin, even coats at the sealer’s specified mixing ratio, coverage and recoat interval.
Sanding readiness at 12 hours does not mean the floor is ready to seal. Check the sealer’s substrate dryness and curing requirements first. Protect the completed floor from dust, water and traffic, and provide written dates for foot traffic, furniture, cleaning and full use.
Site check
Recorded sealer and batch details, completed cure protection and clear care instructions.
Read the floor, not just the clock
The working windows.
≈4 hours
First coat to second coat. The base must be firm enough to work on.
30–60 minutes
Second coat to power floating. Start only when the coating supports the operation.
≈12 hours
After finishing, check readiness for sanding with 120–150 grit.
The 4-hour recoat, 30–60-minute power-floating and approximately 12-hour sanding intervals depend on site conditions and surface readiness. The 12-hour sanding reference is treated here as after second-coat finishing; confirm the site programme with INCISE.
Sealing and full use have their own requirements. Densify with INCISE Strong, allow the specified reaction and drying, then meet the selected sealer’s substrate and cure requirements.
Work under controlled site conditions. Protect fresh work from direct sunlight, rain, strong draughts and rapid drying. Record air and substrate temperature, humidity and moisture. Confirm Topcrete-specific numerical application limits with INCISE before scheduling work; limits for another product must not be substituted.
Before you begin
A few things worth knowing.
Can Topcrete be applied to walls?
No. This Topcrete system is for floors only.
Does one bucket cover both coats?
First coat: approximately 15–20 m² per 20 kg bucket of dry Topcrete. The second coat may cover a larger area over the smoother base. Confirm its actual yield on site; do not assume a fixed two-coat coverage.
Can I use water to help the power float?
Use only a controlled light mist of INCISE Polymer containing the approved pigment, as described in this guide. Do not pour excess water or material onto the floor.
Can I seal straight after sanding?
Not automatically. Complete the INCISE Strong stage and confirm substrate dryness, curing and compatibility with the selected sealer.
Which sealer should I choose?
INCISE UltraGuard, RapidShield and PU WB Sealer are the options specified for this system. Select with INCISE for the actual traffic, exposure, sheen and cleaning requirements.
Keep the details close