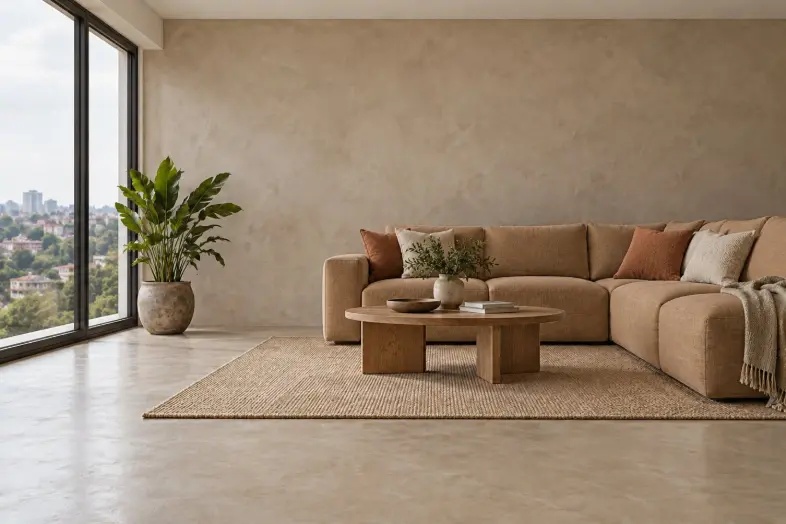
Set the atmosphere.
Soft neutrals can support an open, calm interior. Earth tones bring warmth; deeper shades can give a feature wall intimacy and emphasis. Choose in response to the room and the people using it.
Pigment, texture, light and the objects around it all contribute to the colour you experience.
Understand how an INCISE microcement colour develops—from a measured pigment mix to a finished, sealed surface—and specify the atmosphere as carefully as the shade.
Explore the Colour Studio ↗Understand the mix ↓INCISE’s natural mineral colour palette gives designers room to work with warmth, restraint and contrast. A continuous microcement finish can bring floors and walls into one considered material language, creating a luxurious sense of cohesion.
Continuity does not require every surface to look identical. The same colour family can read differently on a textured wall and a smooth floor, while still belonging to the same room.
Soft neutrals can support an open, calm interior. Earth tones bring warmth; deeper shades can give a feature wall intimacy and emphasis. Choose in response to the room and the people using it.
Consider the microcement beside timber, stone, textiles and metal. A coherent undertone can connect the palette; a deliberate contrast can give furniture and objects definition.
A hand-applied mineral finish has tonal movement. Agree the desired degree of clouding and texture with the applicator, alongside the colour itself.
Choose the colour and intensity, then produce a physical sample using the intended INCISE product, preparation, application technique and sealer. Record the approved pigment dose.
For the INCISE Microtopping polymer system, weigh pigment into the measured polymer and mix thoroughly to a uniform dispersion before combining with the specified dry mix. Follow the current mixing sequence and equipment guidance.
Combine the coloured liquid with the dry mix at the prescribed product ratio. Apply the approved coat build-up, allow the required drying and curing, then assess the finish with its specified sealer.
Pigment is incorporated into the applied microcement mix. Do not judge the final shade from loose pigment, a wet bucket or an unsealed coat. Each is a different stage of the finish.
Reference ratio supplied by INCISE for this Microtopping system. The approved colour formula and current product instructions govern the actual project mix.
Weigh pigment accurately. Measure polymer consistently. Keep the approved dry-mix-to-liquid ratio, mixing procedure and application method consistent across batches.
Do not add extra water or polymer simply to lighten the shade. Change the pigment dose only within the approved formulation, then sample again.
Record pigment identity, product and batch details, quantities, coat sequence, sealer and sheen. Plan continuous areas with the applicator so batch changes do not create avoidable transitions.
This ratio is not a universal instruction for every INCISE product. Colour Hardener, Metallic, pool finishes and other systems require their own formulation guidance.
Explore softer or deeper expressions of a colour. The Colour Studio presents 25%, 50%, 75% and 100% intensity options as a starting point for discussion and sampling.
25% · Soft
50% · Light
75% · Medium
100% · Full
Illustrative grey family, not an official INCISE colour match. Screen values and intensity labels do not predict exact pigment dosage or finished colour.
Visual depth does not necessarily change in direct proportion to pigment quantity. The base material and selected pigment also contribute to the outcome. Ask INCISE to confirm the formula for the intensity you approve.
| Variable | What to consider | What to record |
|---|---|---|
| Product & base | Different mineral bases and aggregate textures can change the appearance of the same colour family. | Exact INCISE system and dry mix. |
| Application | Trowel technique and finishing influence tonal movement and surface texture. | Approved application sample and degree of clouding. |
| Drying & curing | A wet mix is not a reliable final colour reference. | Assessment after the specified cure and sealing. |
| Sealer & sheen | Protection changes how light interacts with the surface and may alter its apparent depth. | Sealer product, coat build-up and matt, satin or gloss finish. |
| Surface orientation | Walls and floors receive and reflect light differently. | Separate vertical and horizontal samples where relevant. |
Colour continuity is a design intention, not a promise of identical appearance across different products.
View samples in daylight and under the actual artificial lighting proposed for the project. Warm lamps, cooler light and changing daylight can make a surface feel different; side lighting can emphasise its texture.
Place timber, upholstery, curtains and stone beside the sample. Large coloured objects and nearby finishes can influence the overall palette and the light reflected onto a wall or floor.
Review the sample in its intended orientation and location. A board held beside a window may not describe the same finish at the back of the room.
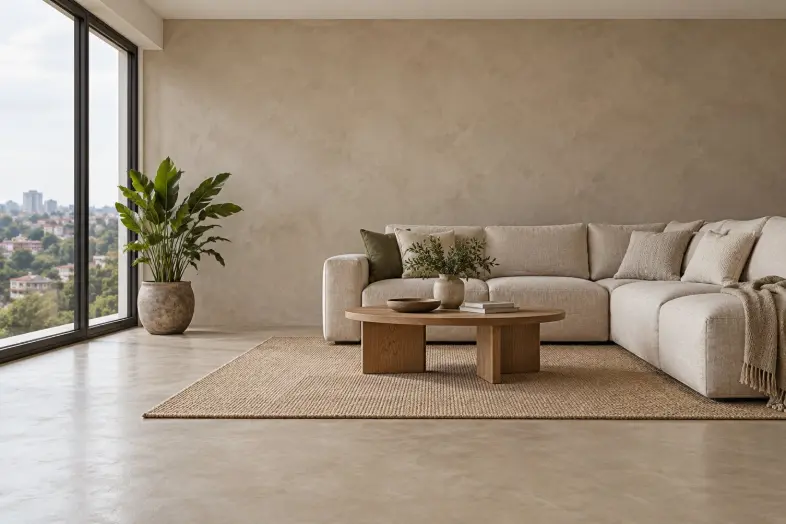
01 / Change the light
02 / Change the furniture palette
Generated room images with illustrative lighting overlays—not calibrated light simulation or an exact INCISE colour match. Confirm the finish on a physical sample.
A physical sample brings pigment, material, technique and protection together. For large or visually sensitive areas, agree an on-site mock-up with INCISE and the applicator.
Retain an approved, labelled sample for comparison during the project. Agree acceptable tonal movement before work begins.
Discuss samples with INCISE ↗Checklist for this visit only; ticks are not saved or submitted.
Provide INCISE [system] in [colour name/reference] at the approved [intensity/formula], with [texture and degree of tonal movement] and [sealer product and sheen]. Match the approved physical sample [reference/date], reviewed in the intended project lighting. Maintain the agreed pigment dosing, mixing and application procedure. Confirm product-specific colour compatibility and approve an on-site mock-up where required.
The same colour can connect the surfaces, but product texture, application, orientation and light can affect the result. Approve floor and wall samples together rather than assuming an identical appearance.
Share the reference and intended system with INCISE. A fabric, paint reference or photograph can guide development, but a physical sample of the complete INCISE finish must establish the approved outcome.
Not necessarily. Controlled tonal movement can be an intended part of a hand-applied finish. Unexpected bands, patches or abrupt batch transitions should still be assessed against the approved sample and application method.
No. Confirm the pigment compatibility and dosing method for each INCISE system. The Microtopping polymer ratio shown here must not be transferred automatically to other products.
Use the INCISE Colour Studio to explore families, intensity and combinations. Return to this guide when preparing the sample brief and project specification.
Explore the palette, build your shortlist and bring it into the light of your project.