Expose a sound base.
Remove laitance, weak material, oil, contamination and poorly bonded coatings. Select equipment appropriate to the substrate.
Technical resources / Surface preparation
The foundation of every INCISE finish
Beautiful finishes depend on what happens first. A sound, dry, correctly prepared substrate gives every layer the foundation it needs.
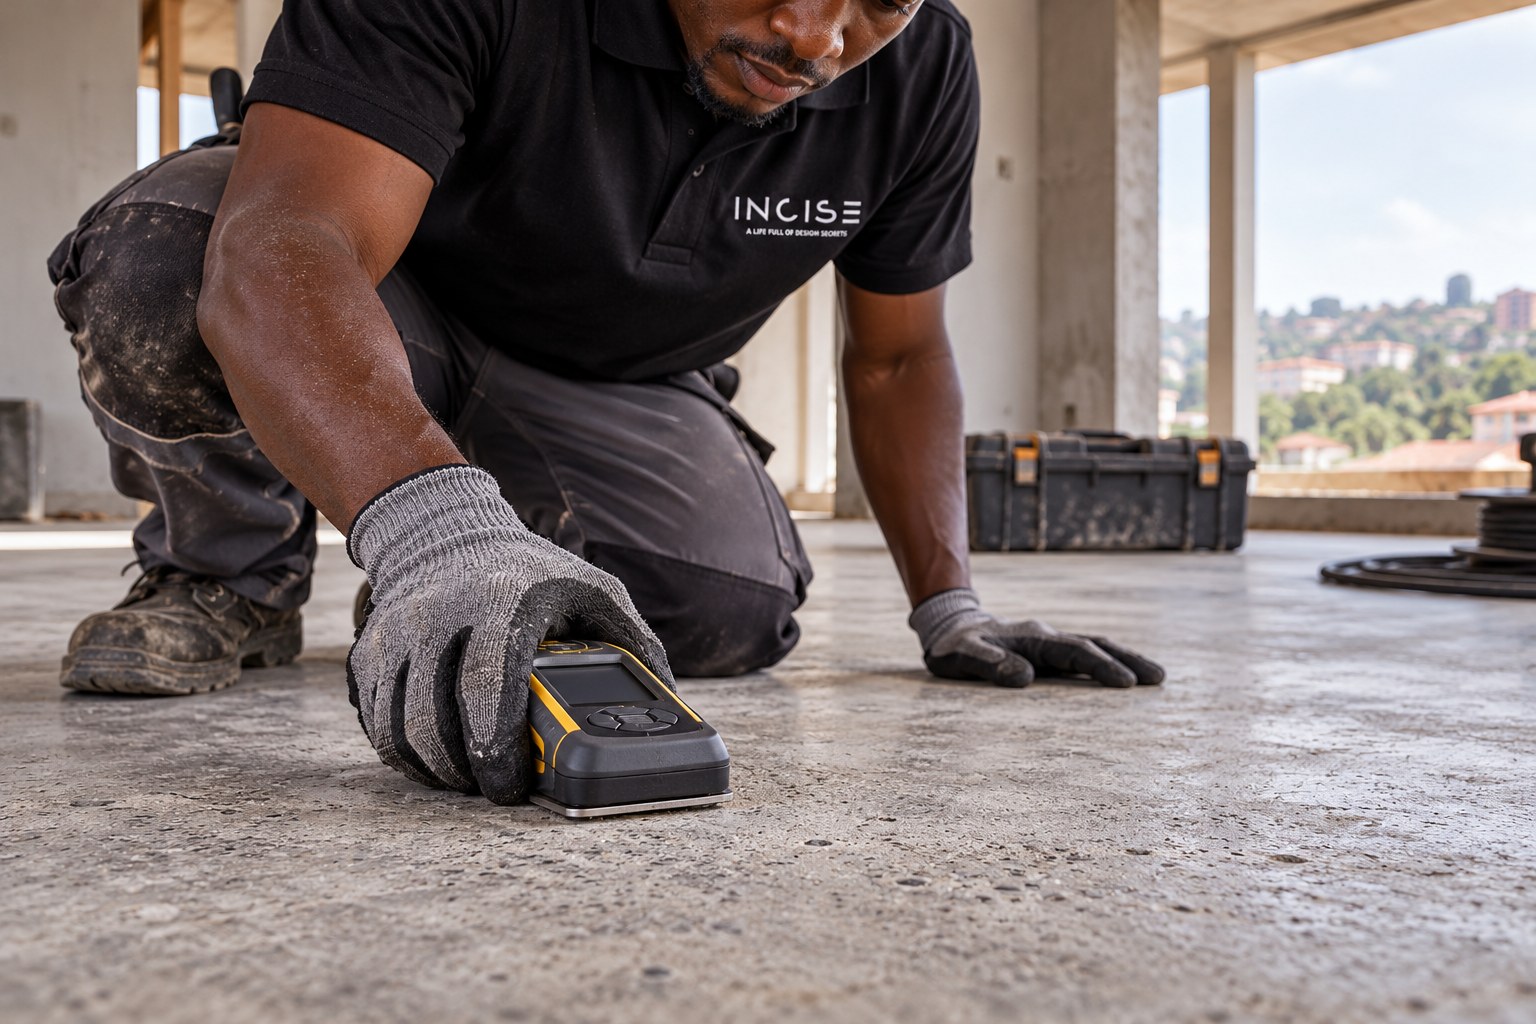
Prepare once. Build with confidence.
Uneven, porous or damaged backgrounds increase material consumption and make the system more expensive. Weak surfaces, trapped moisture and untreated cracks can also compromise adhesion and the final appearance.
Use preparation products to correct the substrate. Keep decorative coats at their specified thickness; they are not a substitute for repairs or levelling.
Start with what is underneath
A strong foundation for a continuous finish.
Assess & prepare
Repair & prime
Prime only after the floor is sound, clean, dry to the agreed limit, repaired and evenly profiled.
The topping must be as dependable as the slab.
Assess & prepare
Repair & prime
An uneven or weak screed increases product consumption. Correct the substrate before using decorative material.
Flat, firm and properly skimmed.
Assess & prepare
Repair & prime
Do not coat chalky, damp or poorly bonded skim coats. Gypsum-based backgrounds need separate compatibility approval, especially in wet or external areas.
Control movement before considering a finish.
Assess & prepare
Repair & prime
The below-5% cementitious moisture rule is not a timber or board moisture acceptance limit. Test these materials using their own specified limits.
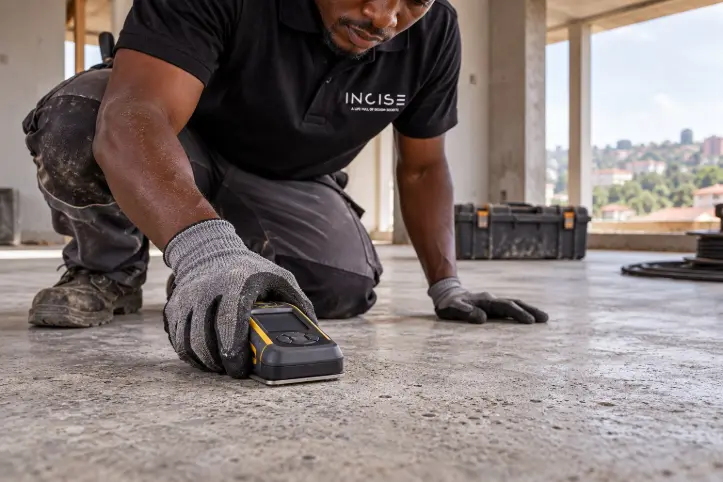
Test. Record. Resolve.
Measure moisture at several representative points, including wet-area edges and suspect patches. Record the readings, test method, locations and date before priming.
Fix bathroom leaks first. Repair plumbing faults and failed waterproofing, allow the substrate to dry and retest. A decorative finish or moisture-tolerant primer does not fix an active leak or rising damp.
Use a test method and instrument scale agreed with INCISE for the substrate. “5%” moisture content is not 5% relative humidity; readings from different test methods are not interchangeable. Follow a stricter limit if the selected system requires it.
Create the mechanical key
Remove laitance, weak material, oil, contamination and poorly bonded coatings. Select equipment appropriate to the substrate.
Shot- or grit-blast to the specified surface profile. Grind high spots and edges. “Smooth” means even and free of ridges—not polished shut.
Correct cracks, voids and depressions using approved repairs. Allow each repair to cure before the next stage.
Use industrial dust extraction. Check that the surface is sound and clean before the primer is applied.
Use suitable respiratory, eye and hearing protection and dust extraction. Shot/grit-blasting is a floor preparation method here; do not apply it indiscriminately to plaster, skim coats or boards.
Repair the cause, then the surface
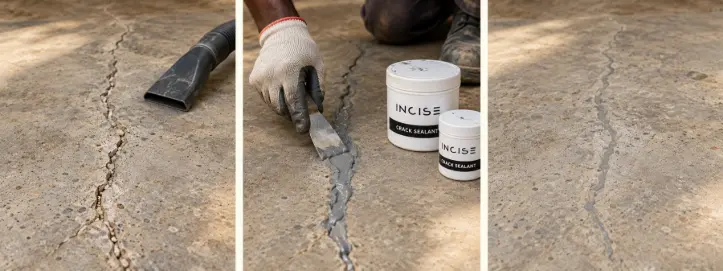
01 / Assess & clean
Identify whether it is static or moving. Investigate active or structural cracks before coating. Prepare suitable static cracks and vacuum out loose material.
02 / Fill & bond
Mix the two-component epoxy to its specified ratio and work it into the prepared static crack using the approved repair method. Respect working time and cure requirements.
03 / Refine & verify
Once cured, remove high spots, finish flush and vacuum. Check that the repaired area is stable and ready for the next coat.
Existing construction joints must be reflected through the new Microtopping surface. Retain movement and expansion joints and follow the specified joint detail. A joint is not a crack to conceal.
Use INCISE Floor Epoxy Primer as part of the specified repair mortar system, with approved aggregate or filler where required. Confirm the repair depth, mix and cure with INCISE; do not pour neat primer into deep voids.
INCISE Color Hardener and INCISE Polymer may form part of the recommended restoration build-up where specified. Confirm their method and suitability for the existing substrate.
Use compatible joint and corner tapes at edges, corners, angles and furniture junctions within the approved detail. Tapes do not replace movement joints or the specified wet-area waterproofing system.
Match the primer to the substrate
| Surface / condition | Primer | What matters before the finish |
|---|---|---|
| Prepared walls Indoor & outdoor | INCISE WB Primer | Apply over a sound, dry, properly skimmed and compatible wall surface. Confirm substrate compatibility and drying time. |
| Concrete & cement screed floors | INCISE Epoxy Primer | Mechanically prepare first. Broadcast the specified quartz into the wet primer; after curing, remove excess and vacuum. The broadcast creates a key for the next layer. |
| Demanding substrates or suspected residual moisture | INCISE Primer ST Surface- and moisture-tolerant epoxy | Investigate moisture first. Use only within its confirmed substrate moisture limits and approved system. Suspected dampness requires assessment—not an automatic override of the below-5% target. Confirm quartz-broadcast requirements. |
| Boards over timber | Project-specific selection | Confirm board type, rigidity, reinforcement and primer compatibility with INCISE. Do not assume a wall primer makes a moving board assembly suitable. |
Choose the right application window
Do not apply in direct sunlight or rain. Plan shade and protection, avoid rapid drying and keep rain off the prepared substrate and fresh materials.
Check the selected system’s air temperature, surface temperature, humidity and dew-point requirements. If conditions or moisture checks fail, stop and resolve them before proceeding.
From the applicator’s perspective
Jimmy · Timeless Spaces
Watch the applicator video alongside the preparation checks above. Use the approved INCISE system specification for your project.
Moisture testing & recording
Crack repairs & joint details
Priming & quartz broadcast
Before the first decorative coat
0 of 8 preparation checks complete.
A personal on-page checklist, not a substrate approval or saved site record. Record and sign off the actual site checks with your applicator.