INCISE ACADEMY / APPLICATION GUIDE
INCISE Microtek
A mineral finish for outdoor floors and walls. This guide follows a verandah floor and a courtyard wall from the prepared base to the final sealer.
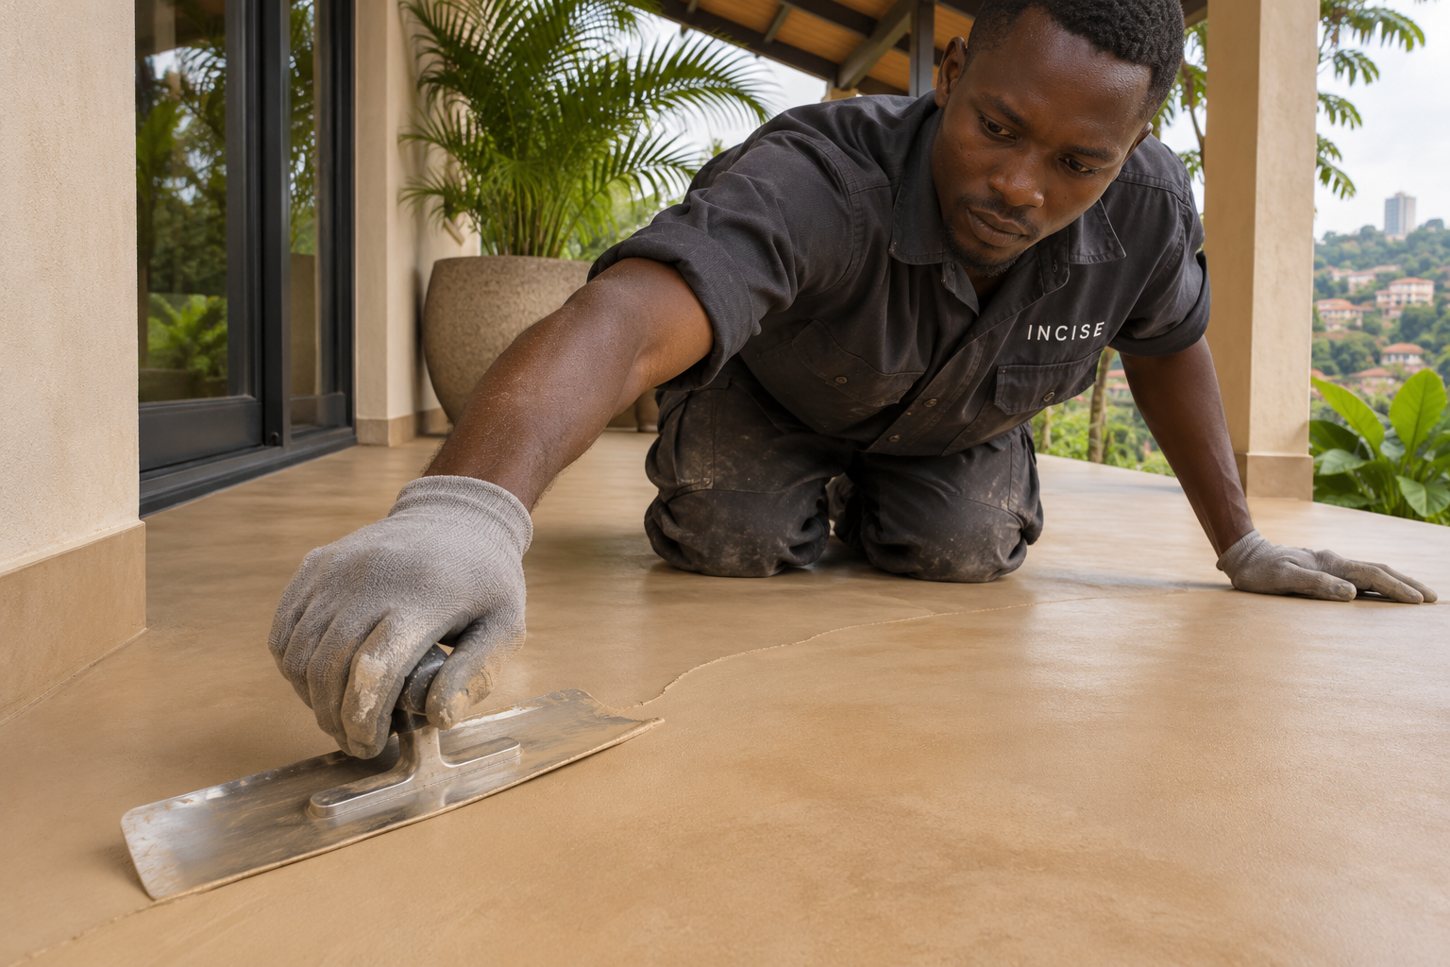
UNDERSTAND THE BUILD-UP
Two mineral coats.
One protected finish.
Read the current Microtek and selected sealer instructions alongside the approved project specification. Make a sample on the intended substrate. Protect fresh work from direct sun, wind and rain; use suitable PPE and dust extraction.
Application order: base to sealer
- Prepared outdoor floor or wall
- Epoxy primer + broadcast quartz
- Microtek / first coat
- Microtek / second coat
- UltraGuard™ or RapidShield
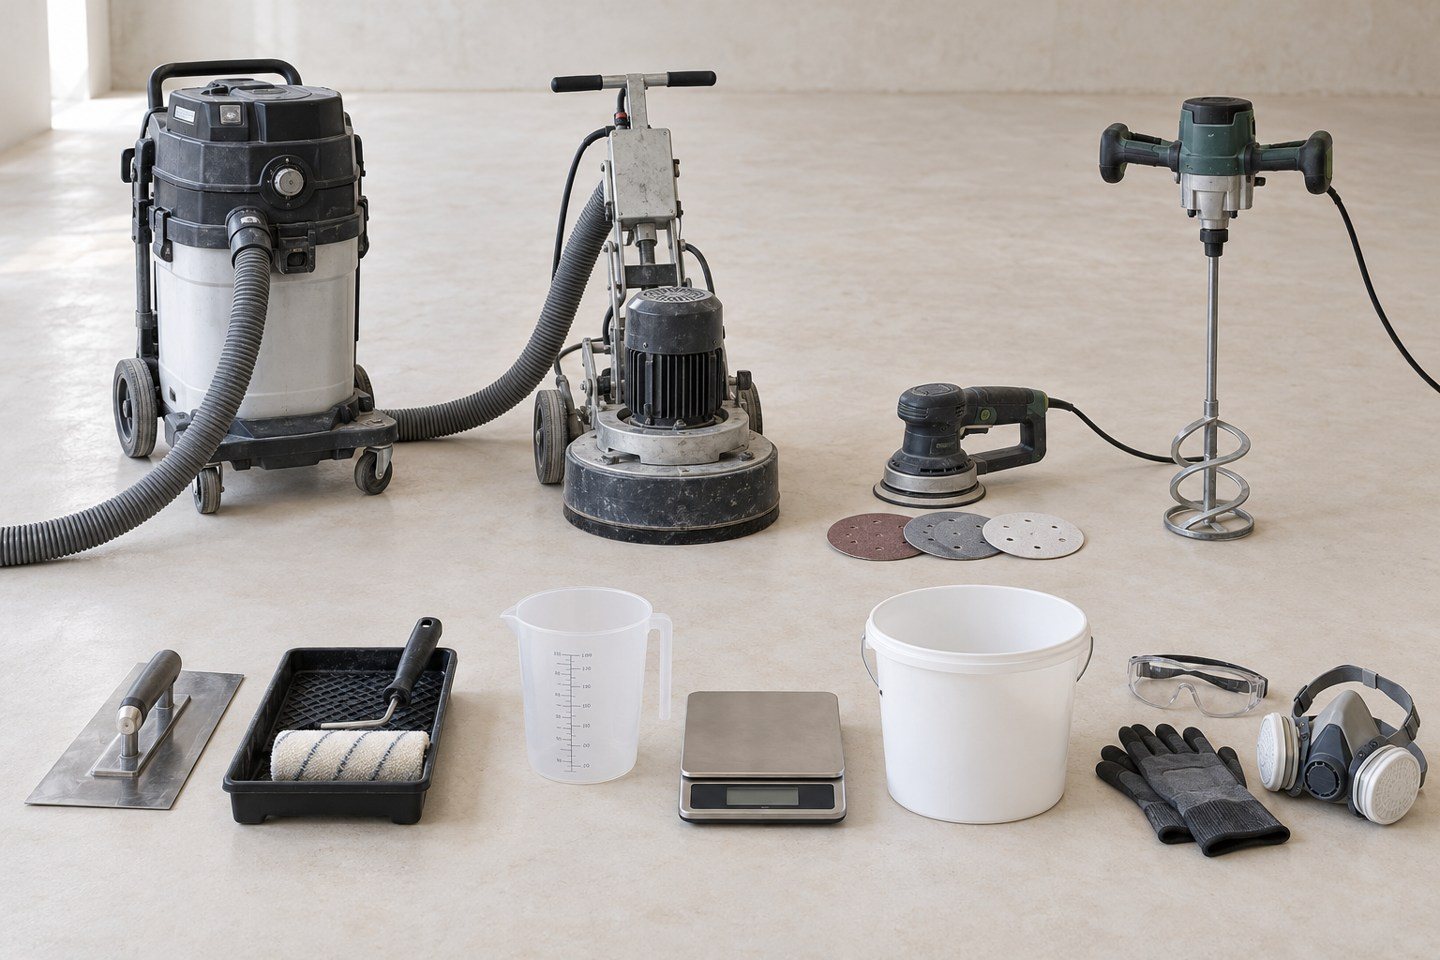
BEFORE SITE WORK
Prepare your kit.
Moisture meter, grinder or suitable wall-preparation tool, dust extractor, vacuum, clean buckets, scales, calibrated jug, low-speed mixer, stainless-steel trowels, sanding machine or hand block, 80–120 grit abrasives and a short-nap roller if specified for the sealer.
Packs & coverage
- Pack sizes
- Microtek: 20 kg per bucket. INCISE Polymer: 20 L per pack.
- Mix by volume
- 1 measure of polymer + 2 equal measures of dry Microtek.
- Coverage per 20 kg bucket
- Approximately 20 m² for one coat or 10 m² for both coats.
20 m² job, two coats: allow two buckets (40 kg) before wastage.
FIELD GUIDE / FIVE STEPS
Follow the application.
01 · Prepare the surface
A sound base
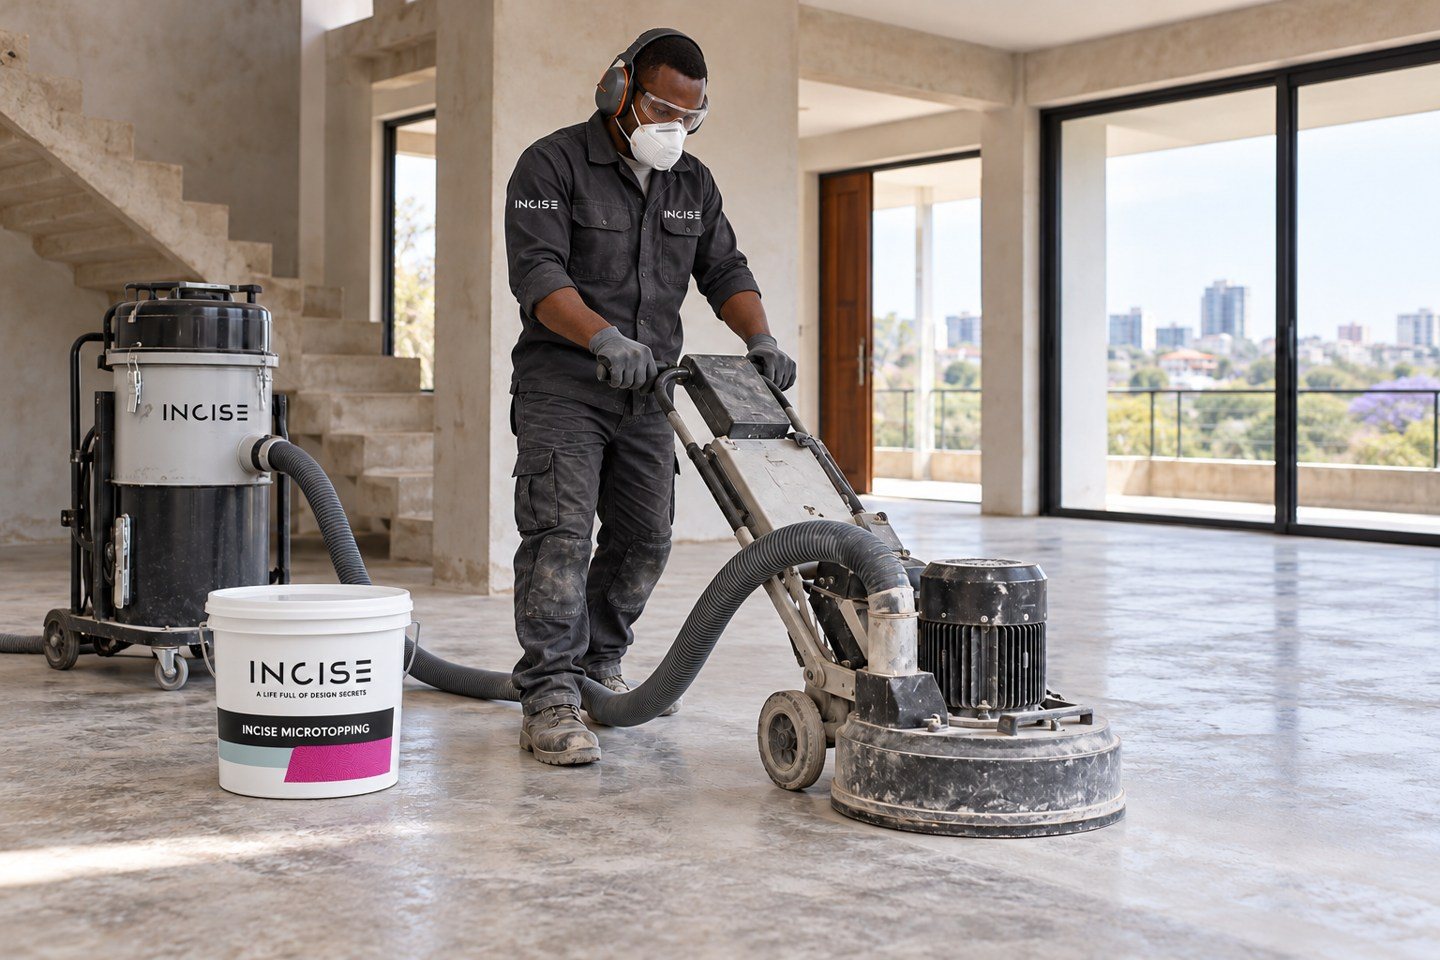
Inspect the base for weakness, dampness, cracks and movement. For concrete floors and screeds, check for at least 25 MPa strength and 28 days of curing. On a rendered wall, check the render is sound and firmly bonded. Correct leaks first.
Repair static cracks with INCISE Crack Sealant as specified. Preserve movement joints. Mechanically prepare the surface to the specified profile and vacuum thoroughly.
Site check: Check the base is clean, dry and stable. Record the moisture reading; confirm it meets the system limit before priming.
02 · Prime and broadcast quartz
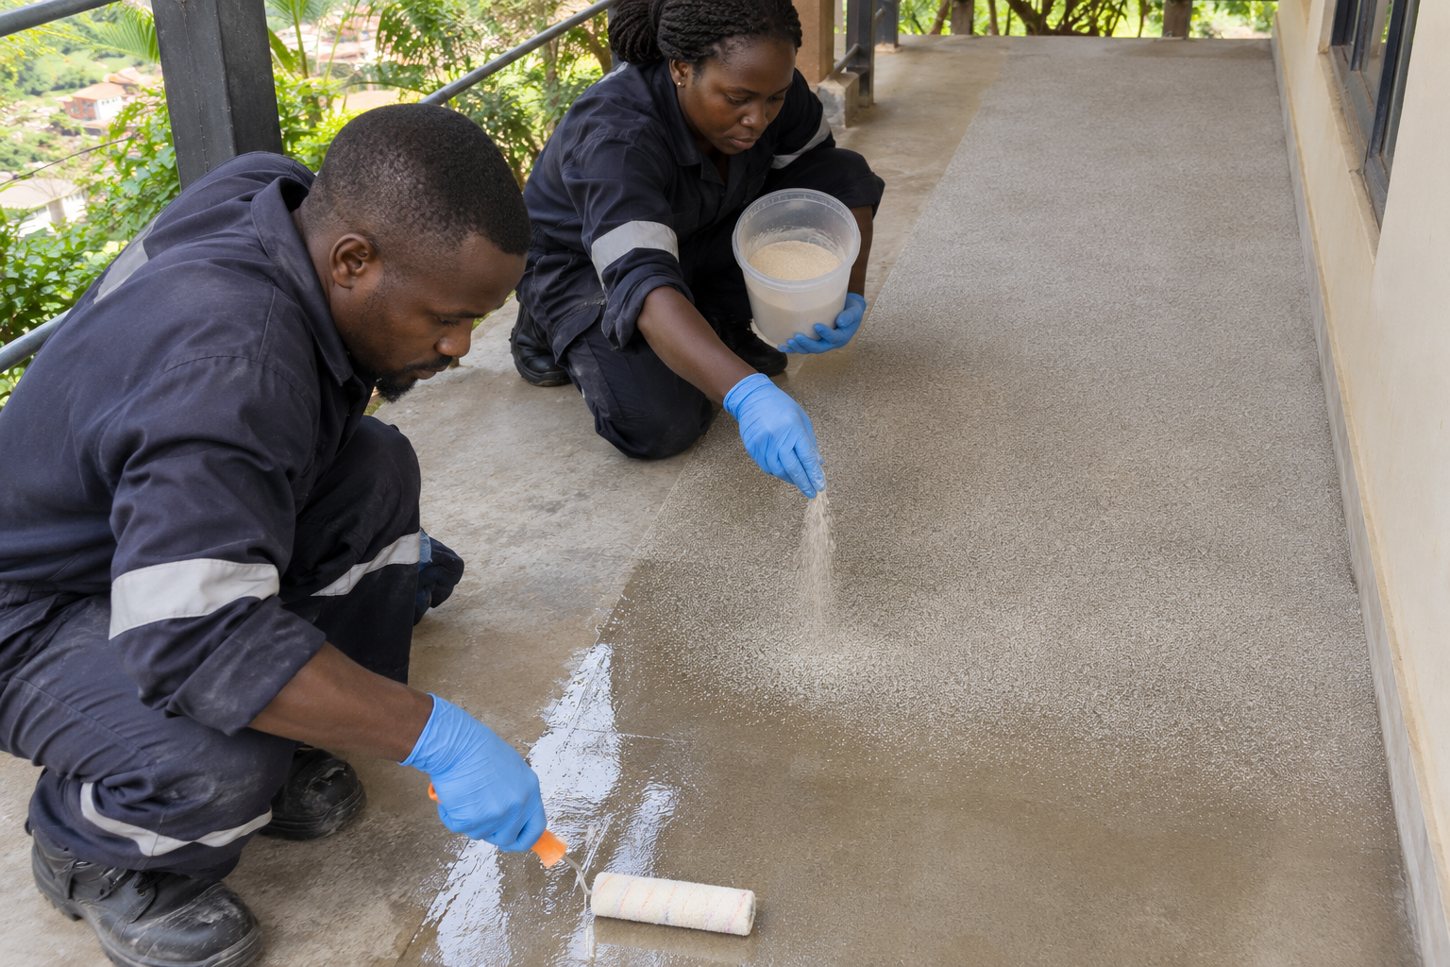
Create the mechanical key
Apply INCISE Epoxy Primer to the prepared base. While it is still wet, broadcast the specified quartz evenly into the primer. On a wall, control runs and distribute the quartz across the vertical face.
Let the primer cure as specified. Remove all loose quartz and vacuum. Inspect the whole area for smooth patches and correct them before coating.
Site check: The bonded quartz should give an even key. Loose sand, bare patches or uncured primer are reasons to stop.
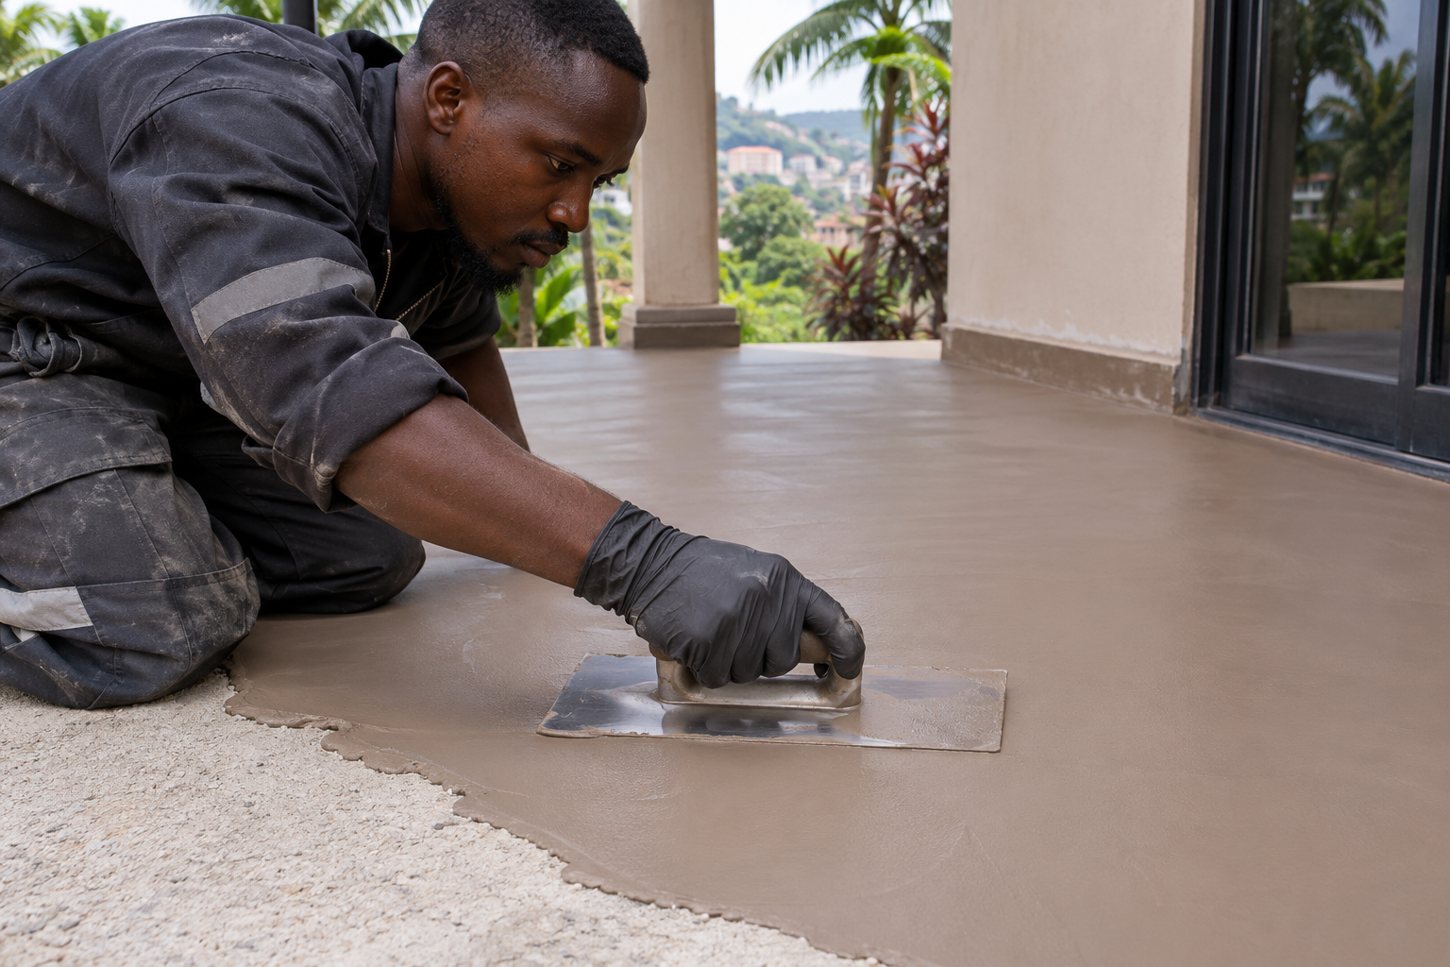
03 · Mix and trowel the first coat
Build an even surface
Measure the approved pigment into the polymer and mix until the colour is uniform. The reference colour dose is 1 kg as required; approve a sample and record the exact dose and batch size.
Measure by volume: mix 1 part INCISE Polymer with 2 parts dry INCISE Microtek. For example, measure 1 L of polymer and 2 L of dry Microtek using the same graduated container. Trowel a thin, even first coat across the keyed surface. Once ready for sanding, refine with 80–120 grit and vacuum.
Site check: Check the colour against the sample. Remove ridges without cutting through the coat; the surface must be dust-free before recoating.
04 · Apply and refine the second coat
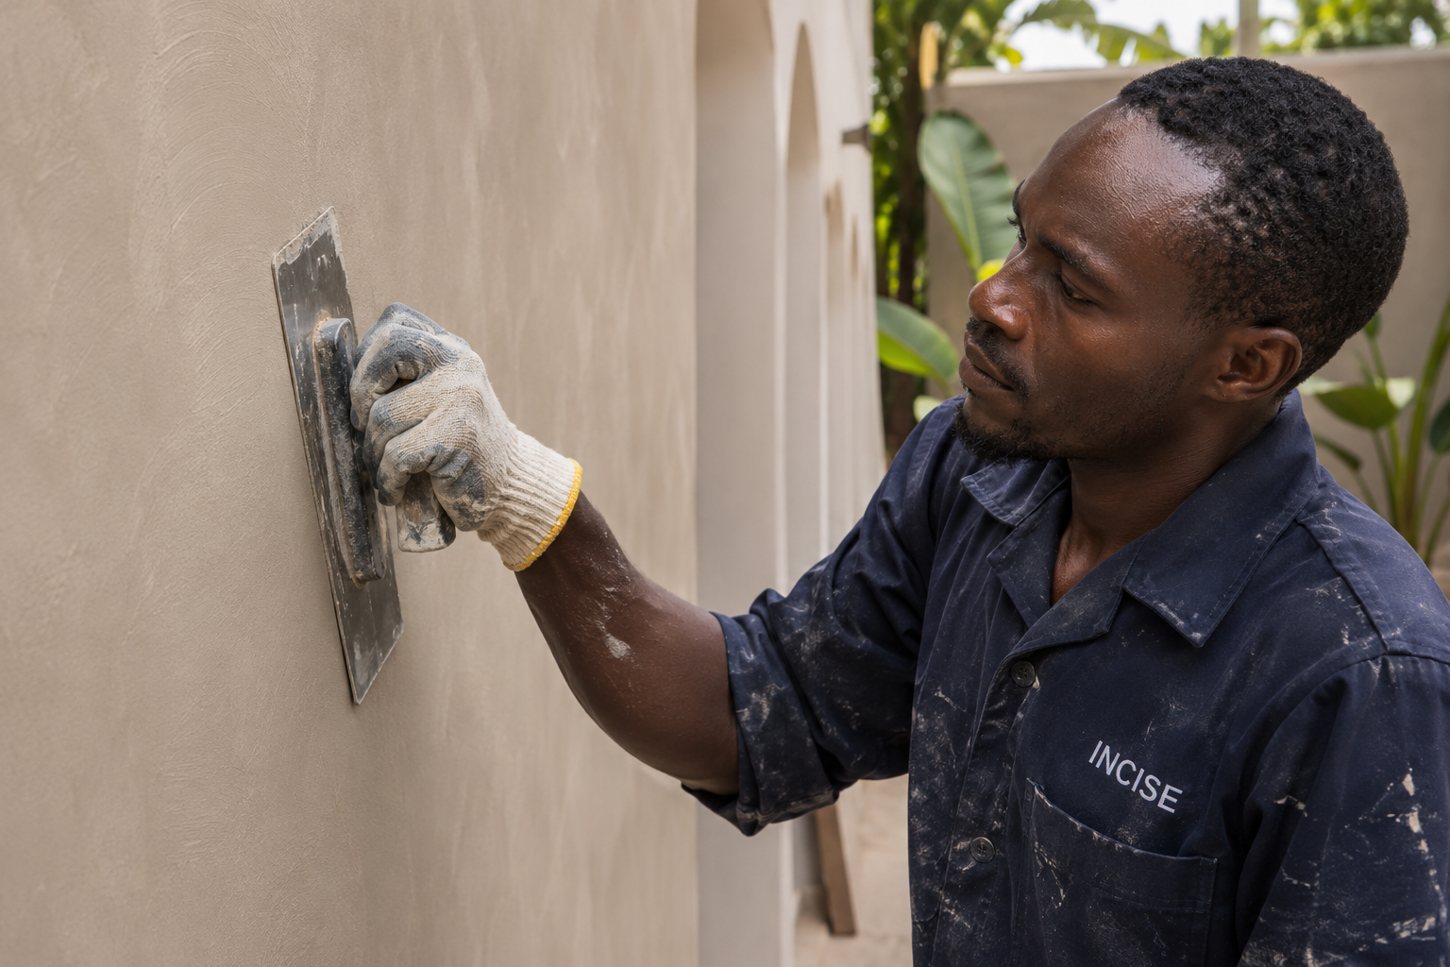
Set the pattern
Repeat the approved mix and trowel the second coat. Match the sample: short overlapping passes give a different movement from longer directional strokes. Make that choice on the sample rather than halfway across a wall.
Keep the working edge consistent. Once ready, sand with 80–120 grit, using light pressure at edges and corners. Vacuum and inspect in raking light.
Site check: Approve the texture and colour before sealing. Check for sanding scratches, dust, trowel marks or exposed primer.
05 · Seal and hand over
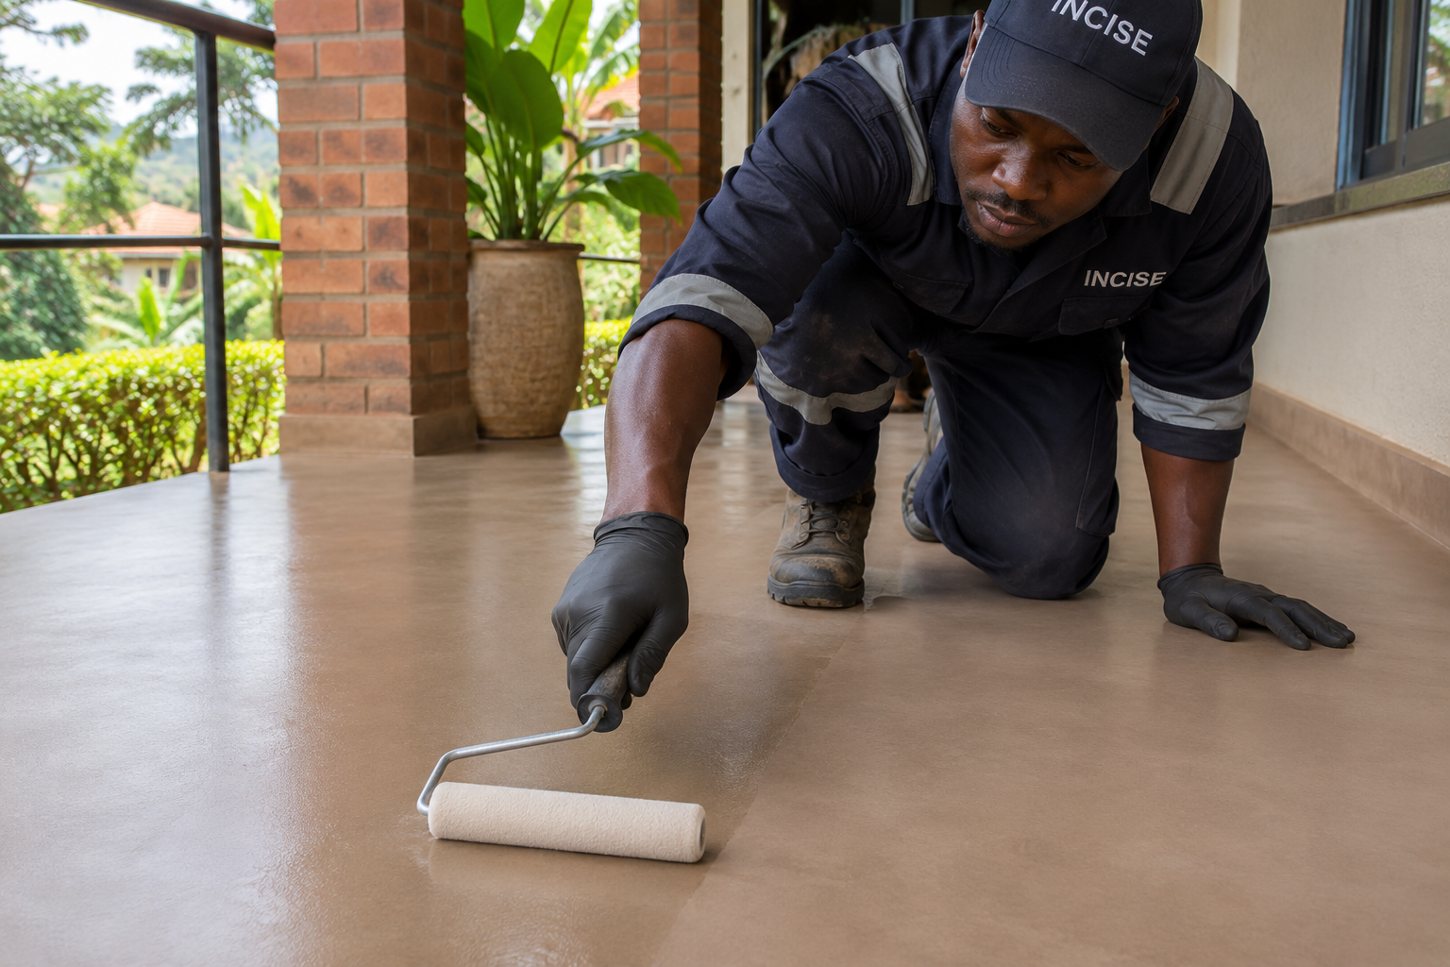
Protect the finish
Choose INCISE UltraGuard™ or INCISE RapidShield to suit the exposure, traffic, sheen and intended use. Confirm the selected system is suitable for the particular wall or floor.
Apply thin, even coats using the selected sealer’s specified method, mix ratio and recoat window. Avoid puddles on floors and runs on walls. Protect the area from rain, dust and traffic during curing.
Site check: Record the sealer, date and batch. Give the client the approved dates for traffic, furniture, washing and water exposure, plus care instructions.
TECHNICAL RESOURCES