INCISE Wallcrete is a premium single-component microcement for interior and exterior decorative walls. Two thin trowelled coats bring the colour and movement of the hand finish across a continuous surface. The skim sets the plane; the last trowel pass sets the character.
INCISE Wallcrete is a premium single-component microcement for interior and exterior walls. Mix the powder with clean water and apply it with a steel trowel. The colour runs through the decorative coat, while the direction and pressure of the trowel give each wall its character.
Choose a quiet, close-toned finish for a bedroom, or let a deeper second tone bring movement to a reception wall. For an exterior elevation, review the sealed sample outdoors: daylight reveals changes in texture that can be hard to see on a small indoor sample. For bathrooms, specify INCISE Microtopping instead.
How do you mix INCISE Wallcrete?
Measure 10 L of clean water for 20 kg of Wallcrete, or 1 L for 2 kg of powder. For colour, disperse 1 kg of INCISE pigment in 20 L of water (50 g/L; 500 g for a full bucket mixed with 10 L). Adjust the pigment dose for a lighter or deeper tone on a sample first. Record the approved dose and use it for every batch of that tone.
Put the measured water in a clean pail. Blend in the colour first, then add powder gradually. Paddle-mix for 2–3 minutes until creamy and lump-free; rest for 2–3 minutes. Mix only what the team can place while workable.
How much INCISE Wallcrete do I need?
One 20 kg bucket of INCISE Wallcrete covers approximately 65–75 m² per coat, or 32.5–37.5 m² of finished wall with two coats, before wastage. Check consumption on a measured sample with the specified coat count, skim and texture before ordering. Allow separately for an optional decorative coat.
For example, a 65 m² wall needs approximately two 20 kg buckets for two coats before wastage. Measure the actual wall area and include window reveals or returns that will receive the same finish.
Tools for a vertical finish
Straightedge and inspection light; scraper and filling knives; hawk and clean stainless-steel finishing trowel; corner tool and small margin trowel; measured jug, pigment scales, clean pails and paddle mixer; hand sanding block or dust-extracted wall sander, fine pads and vacuum; short-nap wall roller, tray and cutting-in brush. Use stable access equipment for high walls and the protection specified in the product SDS.
Choose tools to suit the detail: a full-size finishing trowel for broad wall faces, a small margin trowel for reveals, and a hand pad where a wall sander cannot reach. Set an inspection light along the face of the wall so ridges cast a shadow before the next coat hides them.
From skim coat to sealed wall
01
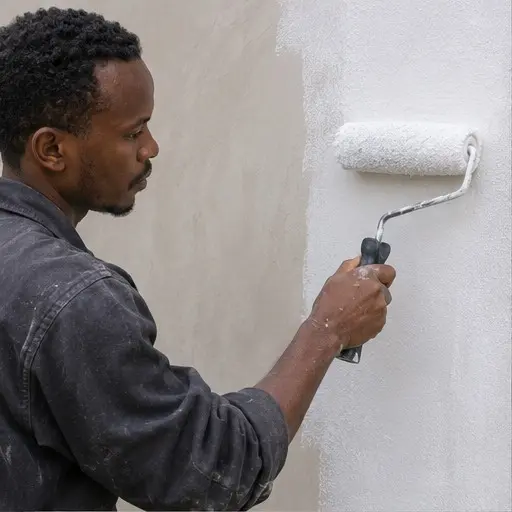
Skim the wall and apply WB Primer
Remove dust, grease, loose paint and weak plaster. Repair stable cracks and holes; resolve leaks or movement before coating. Skim with a compatible cement-based skim coat. Allow it to cure, then check the plane under side light.
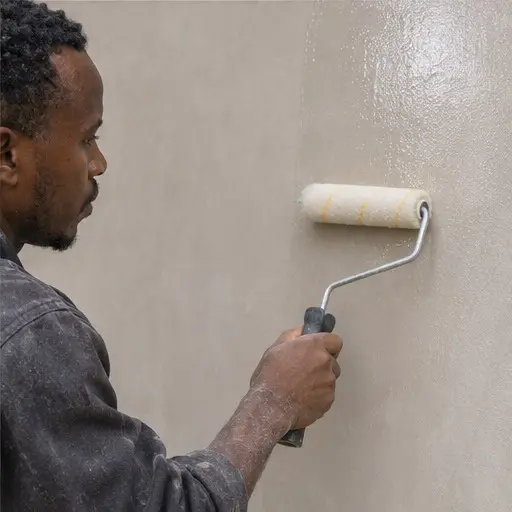
Roll INCISE WB Primer evenly and brush into corners. Allow it to dry according to the primer instructions.
Site check: The skim is sound and even; the primer is dry with no runs or missed patches.
02
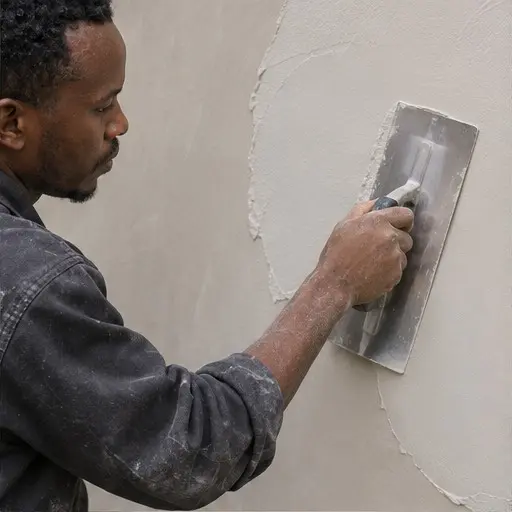
Trowel the first coat
Mix Wallcrete with the measured water and approved colour. Load a small amount onto a hawk and take it up with a clean steel trowel. Spread a thin, continuous coat, keeping the leading edge clean.
Work to a natural break. Flatten lap ridges while the material is workable; do not use Wallcrete to straighten a poorly skimmed wall.
Site check: The coat covers evenly and is firm enough to sand without dragging.
03
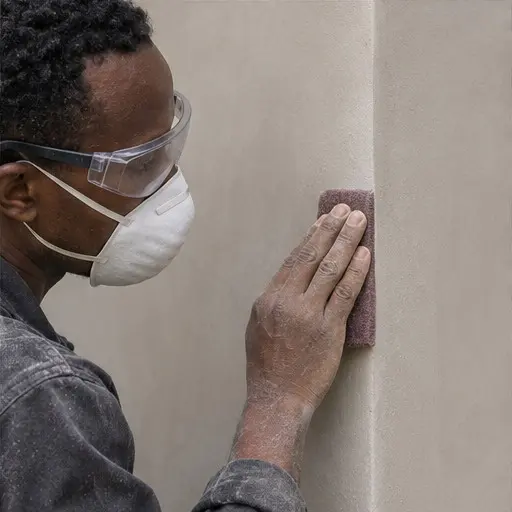
Sand the first coat · 100–200 grit
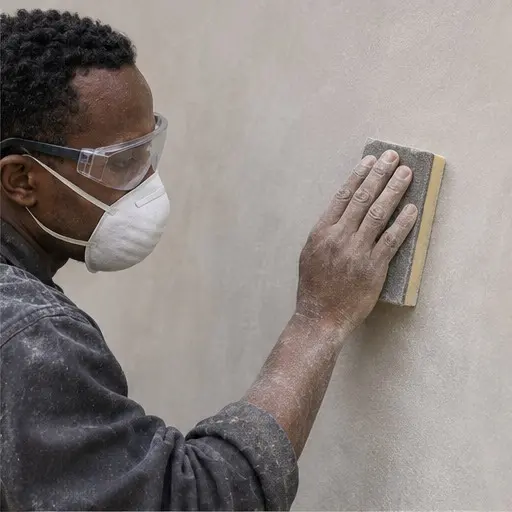
Use a hand block or a wall sander with dust extraction. Start with the least aggressive grit that removes the trowel ridges. Work edges and reveals by hand.
Vacuum the wall and ledges. Use side light to pick up raised edges that would print through the second coat.
Site check: No loose dust, sharp ridges or exposed patches of primer.
04
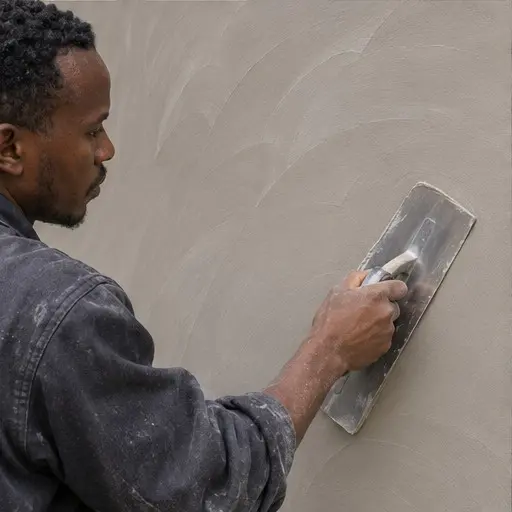
Apply the second coat and form the finish
Mix a fresh batch to the recorded recipe. Trowel thin overlapping passes, following the approved sample. Vary stroke direction deliberately; keep pressure consistent across adjoining areas.
For a cloudy finish, sample an optional third coat or pair a lighter coat with a deeper tone. A brush, patterned roller or stencil can mark the soft final coat. Blend transitions before the surface firms.
Site check: Check texture and colour from normal viewing distance and in the intended light.
05
Refine the final coat · 150–350 grit
When the last decorative coat is dry and firm, lightly sand with 150–350 grit. Use a fine pad by hand at returns, edges and raised details.
Remove nibs without flattening the intended relief or sanding through the colour. Vacuum thoroughly.
Site check: The wall is uniformly dry and dust-free; the approved pattern remains visible.
06
Apply the selected sealer
Allow about 24 hours after the final Wallcrete coat before sealing. Extend drying if the wall is still damp. Select INCISE WB Sealer, INCISE Silicon Sealer or INCISE PU WB Sealer for the exposure and approved appearance.
Test the chosen sealer on the sample. Apply evenly, working from a wet edge and checking for runs in side light. Follow that sealer’s application, recoat and full-cure instructions.
Site check: Protect the finished wall from rain, washing and contact until the sealer has cured.
Watch the Wallcrete application
Watch the INCISE Wallcrete demonstration alongside the six steps. When preparing a sample, pay attention to how the applicator loads the trowel and changes stroke direction. Compare the dried, sealed result in the light where the wall will be seen.
Yes. Specify it for sound, prepared exterior walls and protect the work from rain and harsh direct sun during application and initial cure. Wallcrete is not recommended for bathrooms.
How do I reproduce a cloudy wall finish?
Make a sealed sample on the specified skim. Try a third decorative coat or two related pigment strengths, then record the colour dose, coat order, trowel movement and sealer.
Does Wallcrete need polymer in the mixing water?
No separate polymer is required. Mix the single-component powder with clean water; disperse any pigment in the water before adding powder.
Which sealer should I sample on Wallcrete?
For a decorative wall, start with INCISE WB Sealer. Where retaining the natural appearance of a porous finish is the priority, sample INCISE Silicon Sealer. INCISE PU WB Sealer is another option where the project specifies polyurethane protection. Compare sealed samples for tone and sheen before committing to the wall.