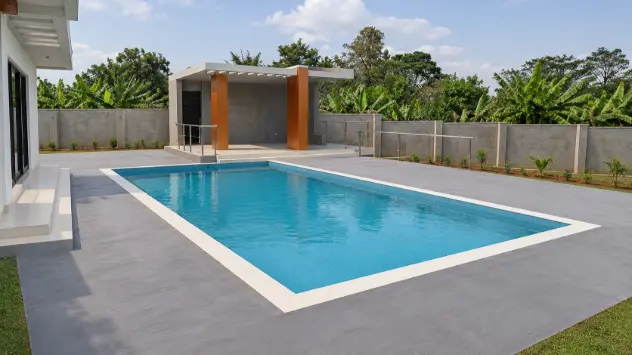
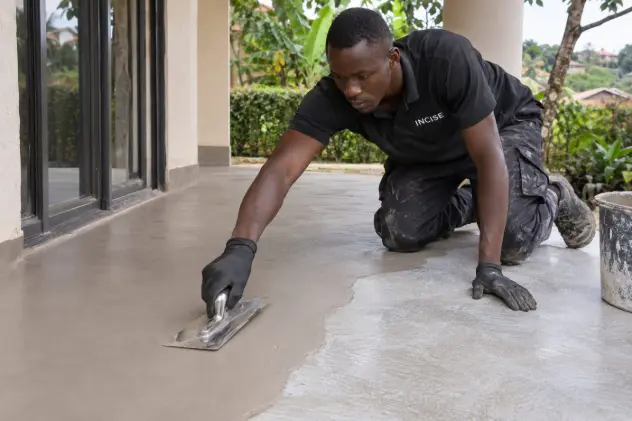
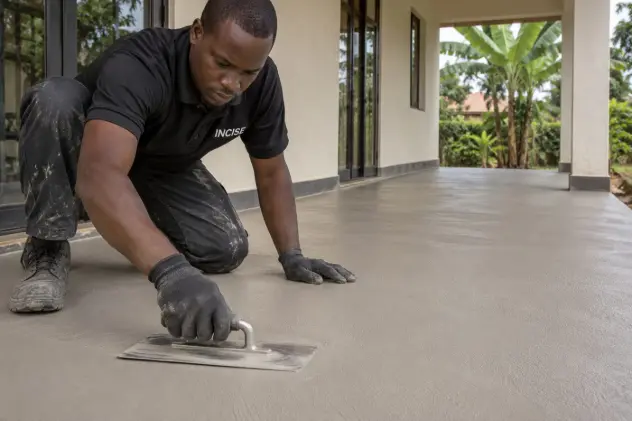
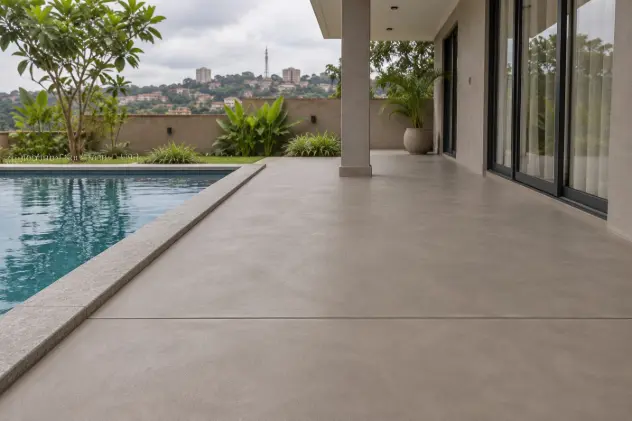
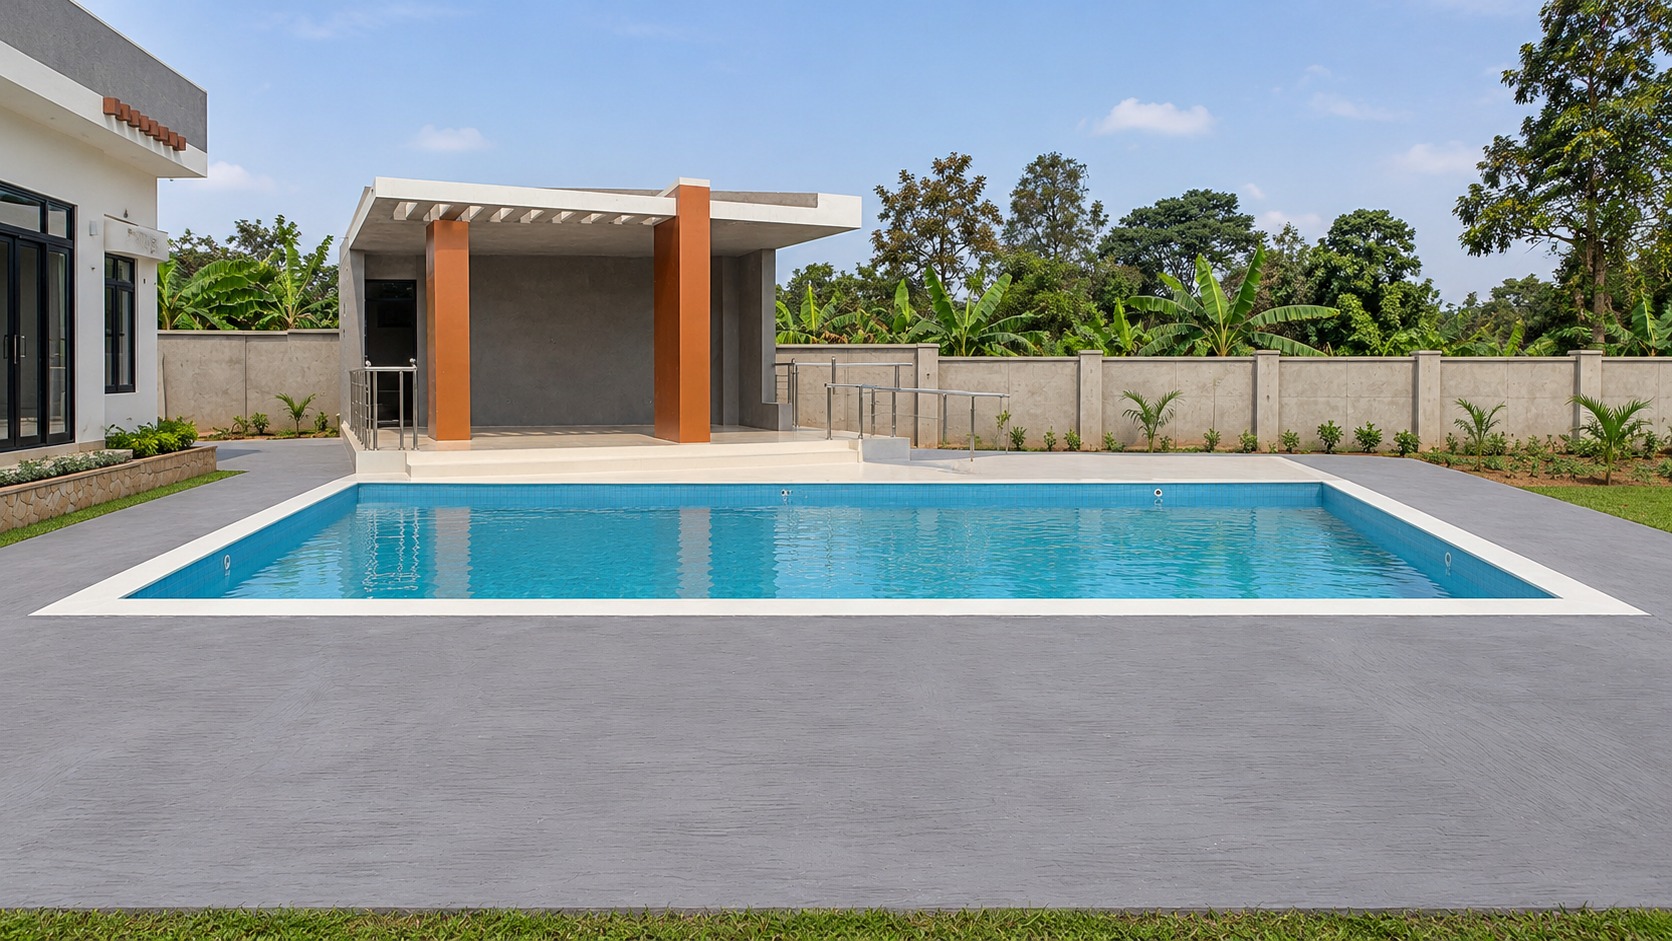
A textured, cement-based microcement finish for outdoor floors. Two trowelled coats carry the same mineral surface from a covered verandah to an open patio, walkway or pool surround.
Choose Patio for verandahs, walkways, driveways, pool surrounds and open patios. On a wet deck, approve the texture and sealer together. On a driveway, confirm the slab can carry the expected traffic. Preserve drainage and movement joints.
Mix by weight: 1 kg INCISE Polymer to 1.5 kg dry Patio. For a 25 kg Patio bucket, weigh approximately 16.67 kg polymer. Polymer is supplied in 20 L packs; weigh the liquid rather than treating litres as kilograms. Based on 20 kg of dry Patio: the first coat covers 15–20 m² (1.00–1.33 kg/m²); the second covers 20–23 m² (0.87–1.00 kg/m²). A 25 kg bucket yields about 18.75–25 m² on coat one or 25–28.75 m² on coat two, before wastage. Allow extra for any third coat.
Tools and equipment
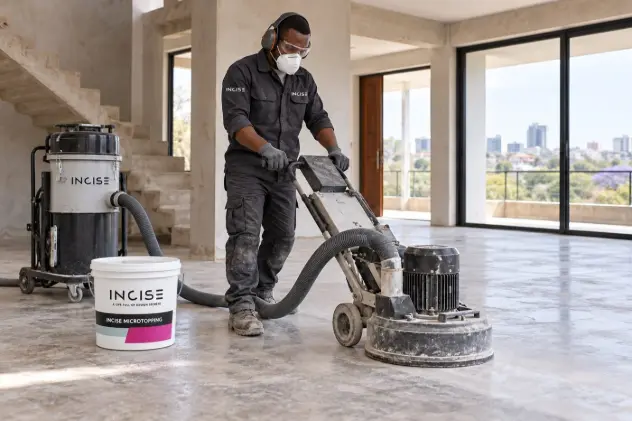
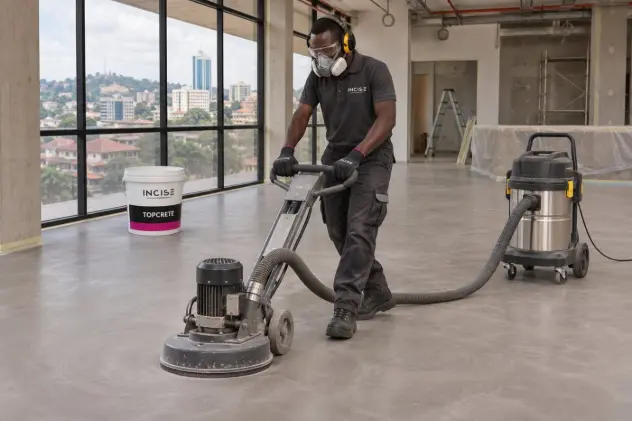
Floor grinder with dust extraction, moisture meter, vacuum, clean pails, calibrated batch measures, slow-speed paddle mixer, stainless-steel trowels, 100–120 grit abrasives, short-nap roller and tray. Use appropriate eye, skin and dust protection.
From prepared concrete to a sealed finish.
01
Prepare the outdoor floor
Start with sound concrete or a cementitious screed of at least 25 MPa, cured for at least 28 days. Check falls, drainage, perimeter details and joints before coating. At driveways, confirm that the slab is designed for the intended vehicle loads.
Application detail
Remove weak material, laitance and contaminants mechanically; vacuum thoroughly. Repair stable cracks and defects with the specified compatible repair system. Reflect movement joints through the finish. Resolve leaks and rising damp before priming.
Site check: Record the moisture reading using the specified test method. Meet the primer moisture limit and INCISE preparation criterion of below 5%.
02
Prime the prepared surface
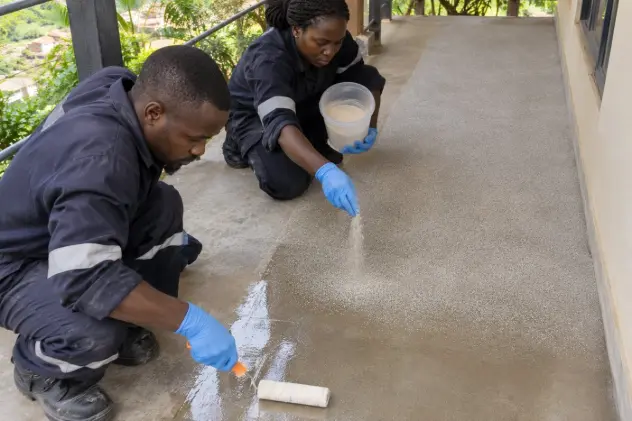
Apply INCISE Concrete Floor Primer / Epoxy Primer evenly to the clean floor using the primer’s component ratio and application instructions.
Application detail
Where specified for the floor system, broadcast quartz into the wet primer to form a key. Once the primer has cured, remove all loose quartz and vacuum. Avoid bare areas and pools of resin.
Site check: The primer is bonded, evenly keyed and ready for recoating within its specified window.
03
Mix polymer, colour and Patio
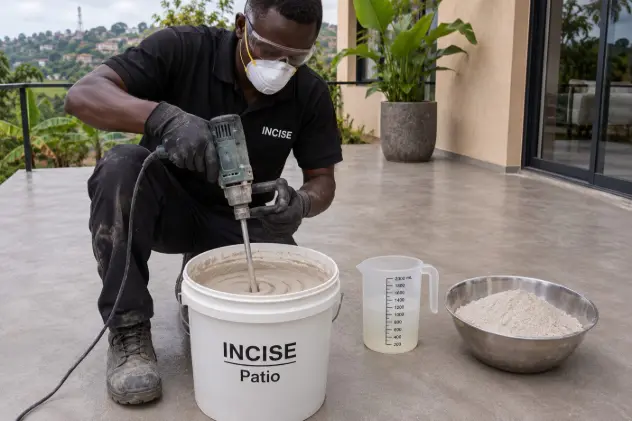
Mix by weight: 1 kg INCISE Polymer to 1.5 kg dry Patio. For a 25 kg Patio bucket, weigh approximately 16.67 kg polymer. Polymer is supplied in 20 L packs; weigh the liquid rather than treating litres as kilograms.
Application detail
Where colour is required, disperse the approved INCISE pigment in the polymer first. Add the measured dry material gradually and mix until uniform. Use the approved sample to control colour; record the dose and repeat it across adjoining areas.
Site check: The batch has an even colour and no dry pockets. Use the same measuring method for every mix.
04
Trowel the first coat
Spread the first Patio coat evenly over the primed floor. Keep the trowel angle consistent, control ridges at overlaps and maintain the designed falls. Work to a planned joint or edge.
Application detail
First-coat coverage is approximately 15–20 m² per 20 kg of dry Patio. A rough or uneven base uses more material. Do not use the decorative coats to correct drainage or major level differences.
Site check: An even base coat with no heavy ridges, hollows or material bridging movement joints.
05
Sand the first coat
When the first coat is sufficiently firm and dry, sand with 100–120 grit to remove ridges and high spots. Stop if the abrasive smears or tears the material.
Application detail
Use dust extraction and vacuum the entire floor, including corners and joint edges. Avoid sanding through to the primer. No fixed intercoat time is assumed: assess the coat under actual site conditions.
Site check: The surface is firm, clean and evenly keyed for the texture coat.
06
Build a uniform second coat
Mix and apply the second coat in the same way as the first. Work from a consistent edge. Match trowel pressure, direction and material spread to the approved texture sample.
Application detail
Second-coat coverage is approximately 20–23 m² per 20 kg of dry Patio. Review adjoining areas in raking light before the coat sets; avoid abrupt changes in texture or prominent lap marks.
Site check: Texture is consistent across each panel, and falls and joints remain clear.
07
Add a third coat only if needed
Use a third coat only where the approved design needs more texture or a stencil detail. Once the preceding coat is ready for recoating, repeat the same mixing and controlled trowelling method.
Application detail
Approve the stencil or texture on a sample first. Check the overall finished system thickness: 3–5 mm in total, including any optional third coat. Do not leave sharp ridges at a walking surface.
Site check: Colour, relief and overall thickness match the approved sample.
08
Cure, seal and protect
Allow at least 24 hours after the final Patio coat before applying sealer. If an optional third coat was applied, count from that coat. Protect the floor from rain, direct sun and contamination.
Application detail
When sufficiently dry for the selected sealer, apply INCISE UltraGuard, PU WB Sealer or RapidShield in thin, even coats. Follow its mixing, recoat and exposure instructions. Allow seven days for full cure. Release for vehicles, washing or pool splash only when the complete system meets the relevant service requirements.
Site check: The floor and sealer are ready for the intended use; agree the handover date and cleaning method.
The finished texture.
Short trowel strokes leave a directional grain in the pale grey mineral surface. In low light the relief is subtle; in sunlight the overlapping strokes are easier to see.
When can the Patio floor be sealed?
Allow at least 24 hours after the final Patio coat before applying sealer. If an optional third coat was applied, count from that coat. Protect the floor from rain, direct sun and contamination. When sufficiently dry for the selected sealer, apply INCISE UltraGuard, PU WB Sealer or RapidShield in thin, even coats. Follow its mixing, recoat and exposure instructions. Allow seven days for full cure. Release for vehicles, washing or pool splash only when the complete system meets the relevant service requirements.